Well, I just downloaded all the photos we’ve taken of the caravan renovation during our reno adventure. If you’ve been following along on Facebook, then you’ve likely been seeing updates pop up as we go, but simply because of the busy nature of trying to get the renovation done, I haven’t updated anything on the blog.
While the plan is, to post a chronological step through of what we’ve done; the irony is that until we’re done I just won’t have the time, so I’m posting a few pictures that highlight the process we’ve been through and are getting closer to finishing.
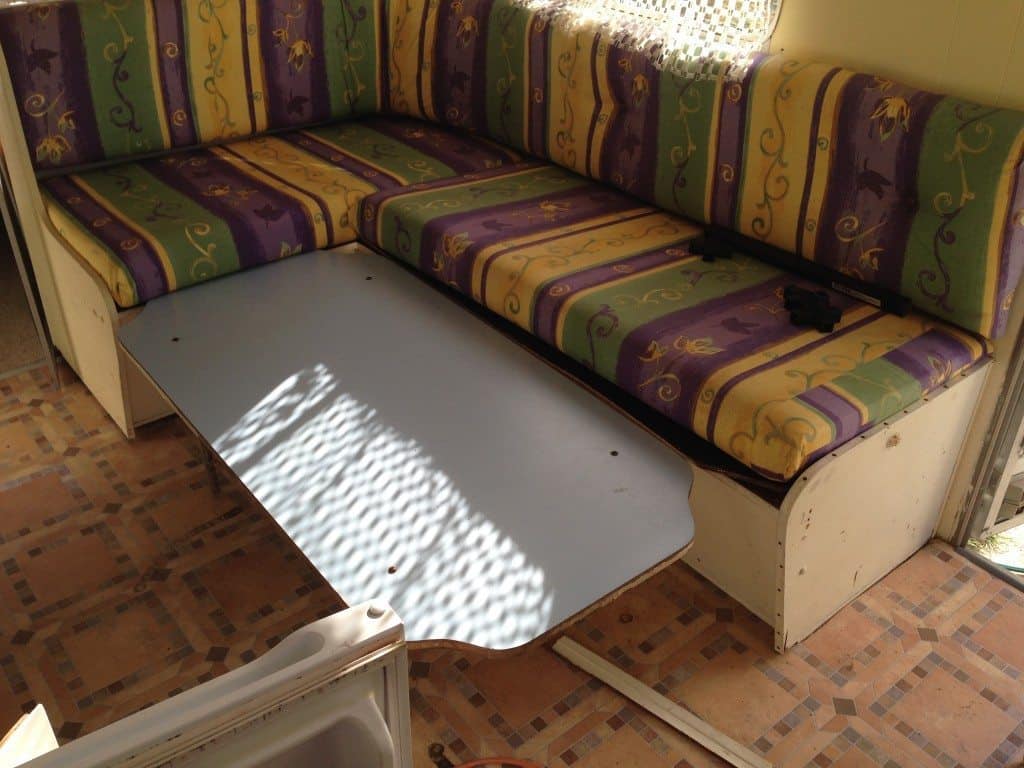
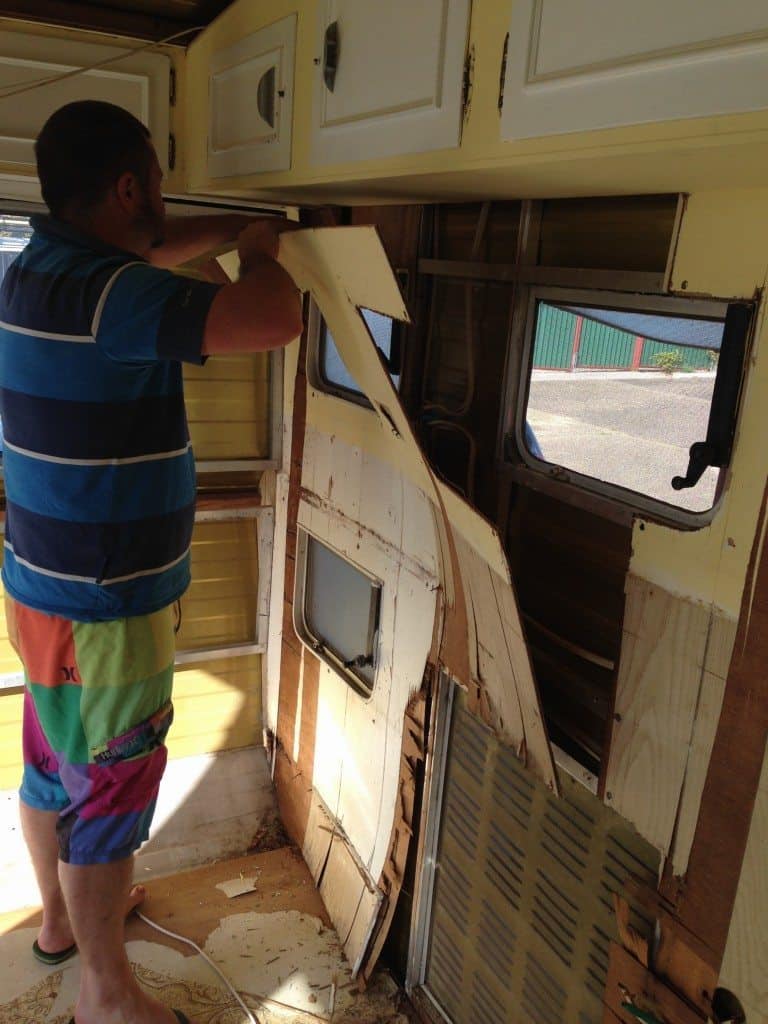
This is the original lounge, I need to find some more of the internals before we started stripping, then in the one below you can see Matt stripping out the internal wall lining, after he’d ripped out the kitchen and the lounge and old beds.
There is so much work in stripping out just in order to put it all back together again, but we got it all stripped out, took out all the old wiring, part of the floor, and had a clean canvas to begin rebuilding.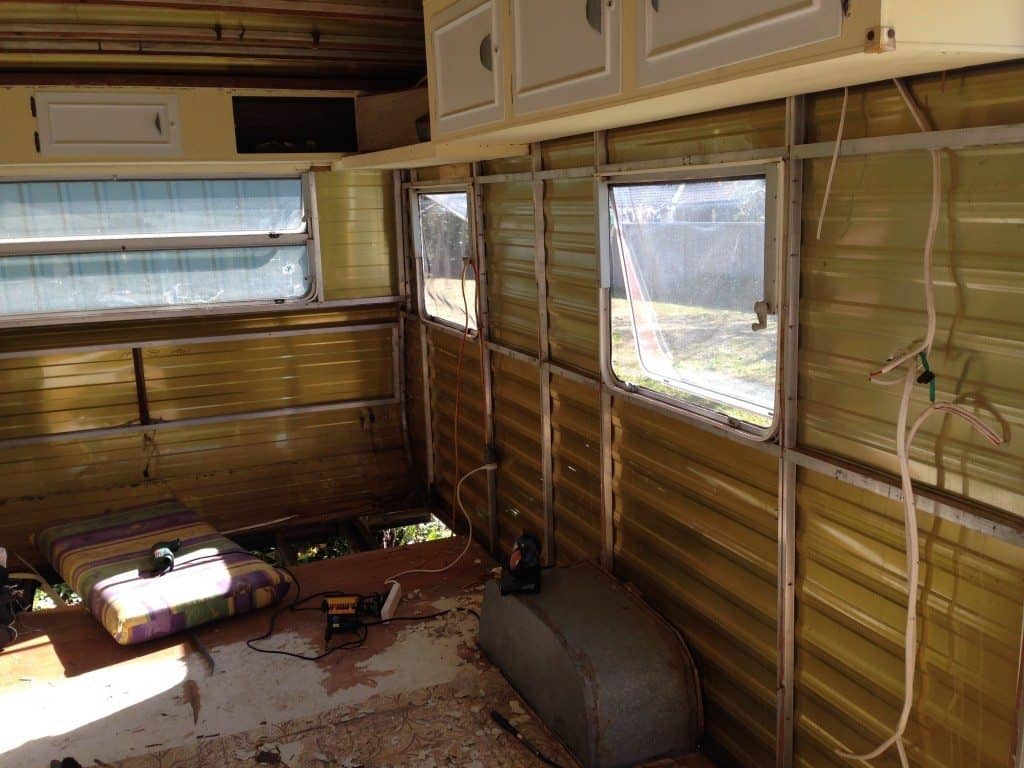
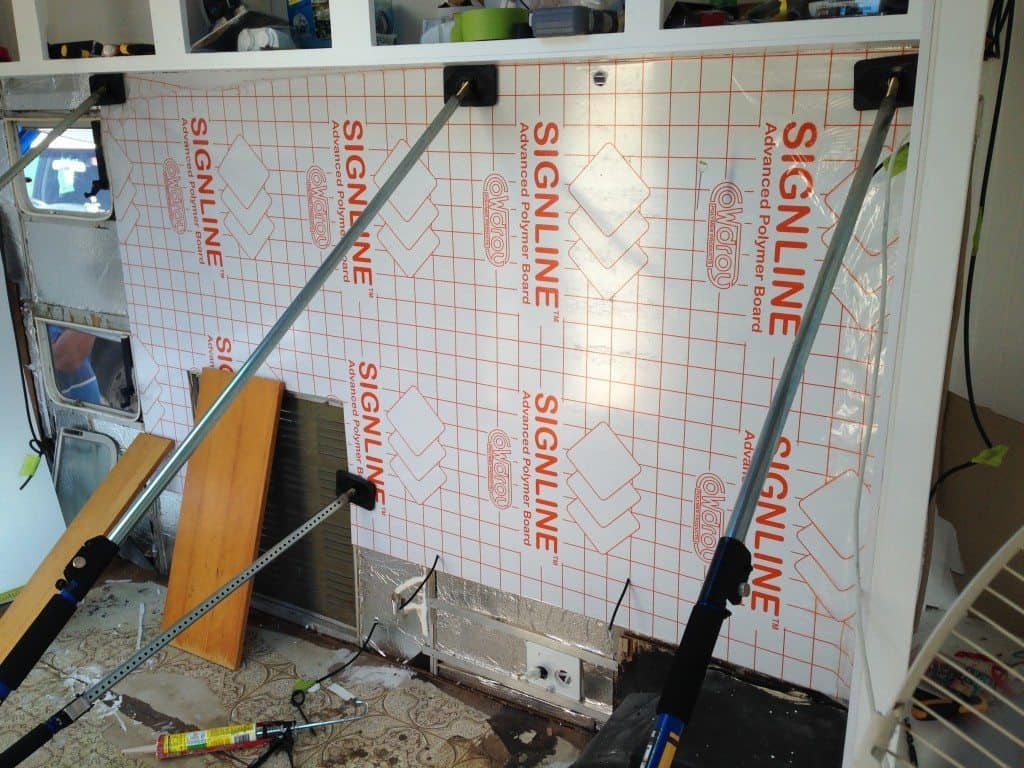
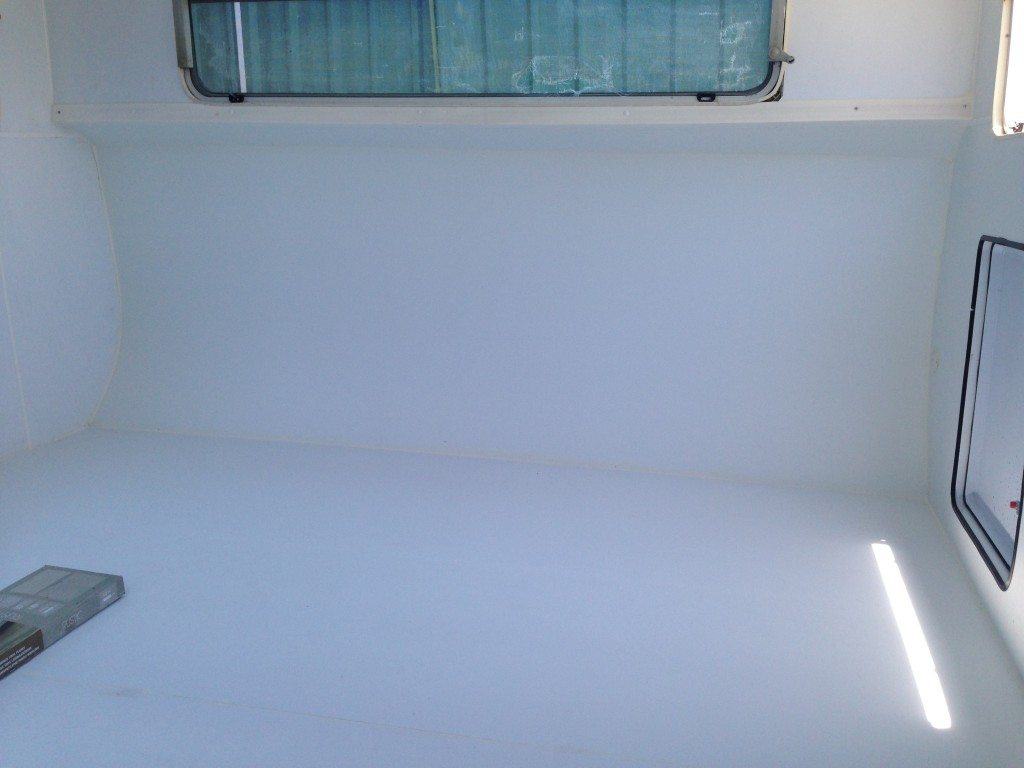
Then there was re-wiring the entire van and deciding where we wanted our phone charging points, lights, stereo and other goodies to go. There is a LOT of wiring running in the van. We got heavy duty dual core so it should last forever and a day. You can see in the photo below, we’ve repained, and insulated as well by this point.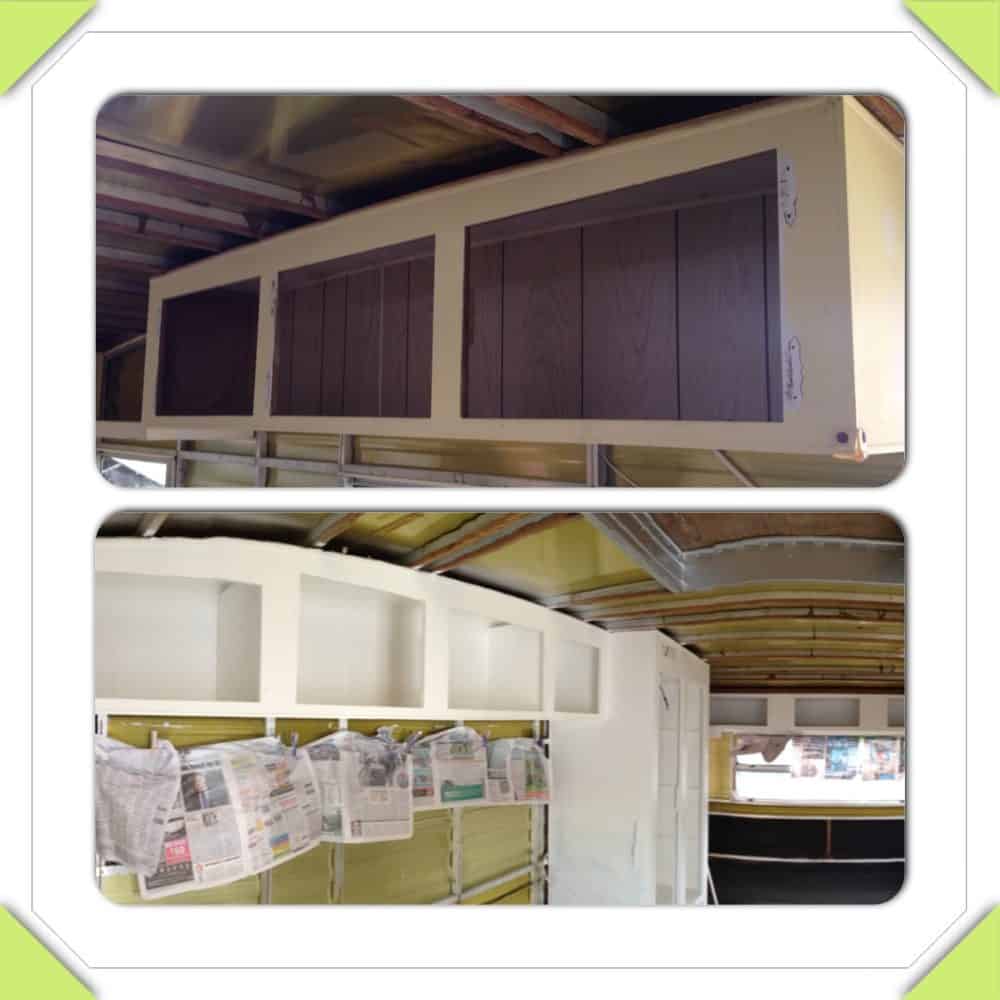
Once many, many hours of work went in, we started to re-line the van.
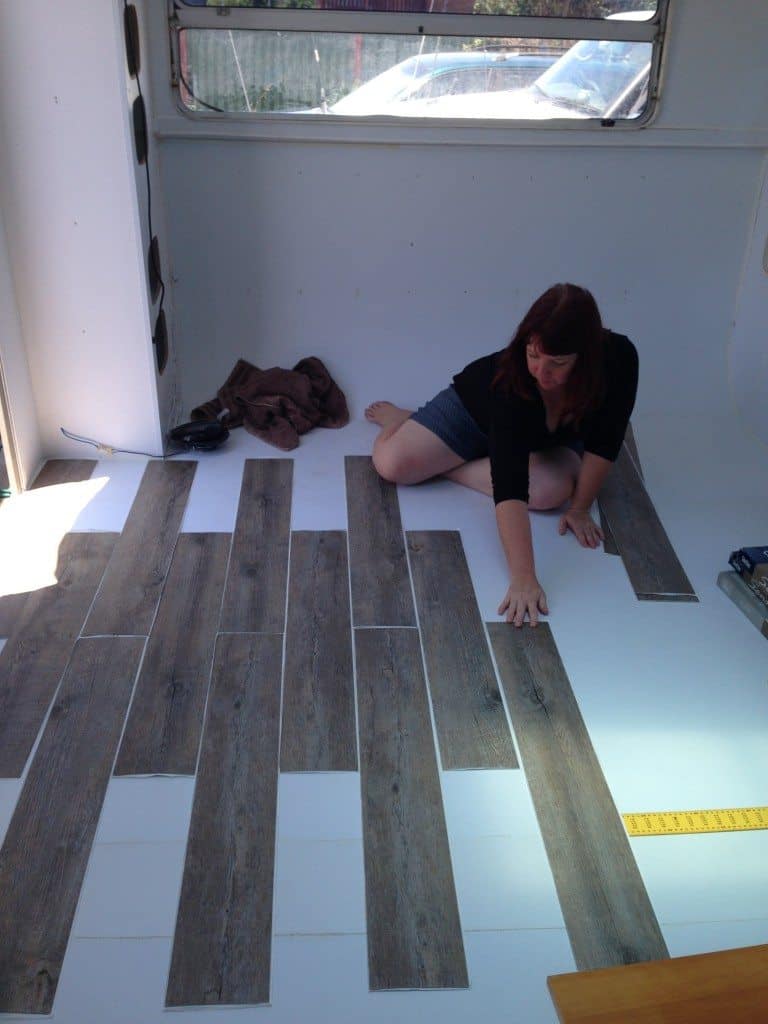
After many, many more hours, we began to get to some of the detail work, we laid a new floor which I love. It feels and looks like old floorboards.
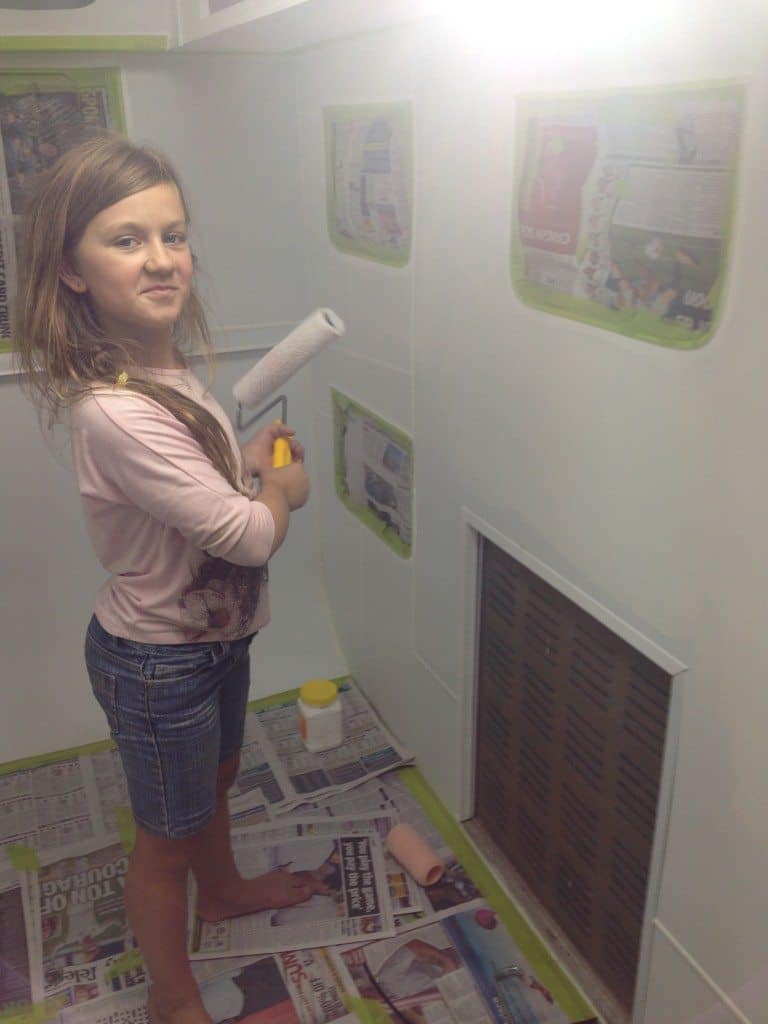
It also included painting… the kids helped to do the undercoat, and then once all that was over we could begin constructing the furniture.
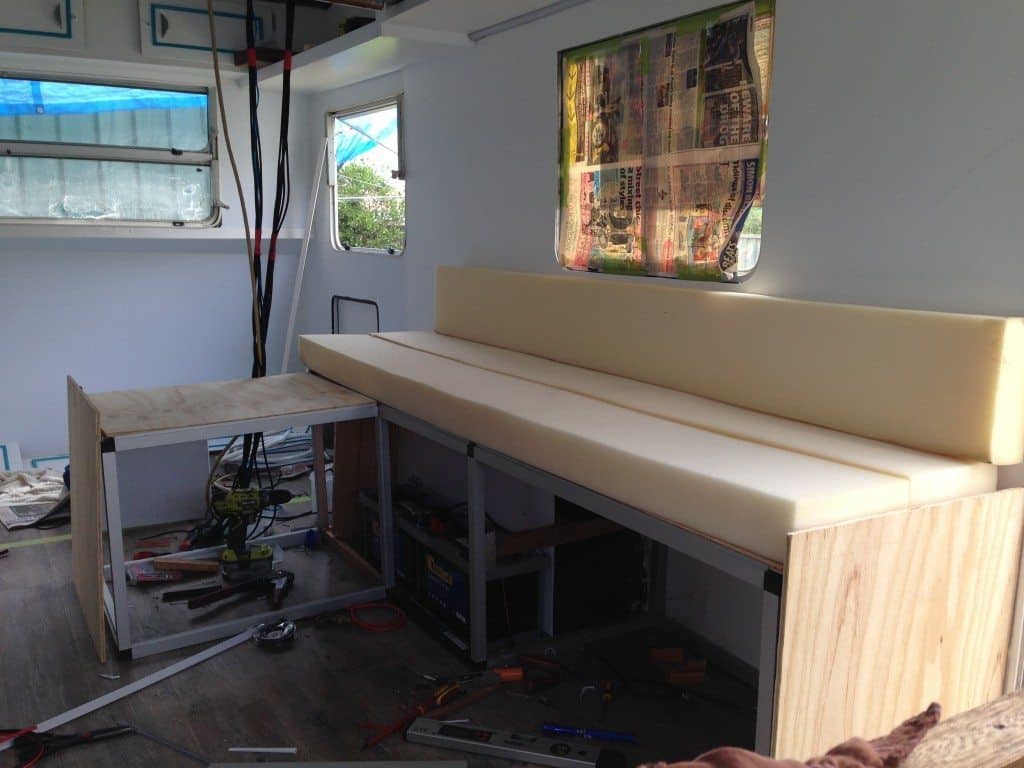
This is the new lounge in progress, it doesn’t have the dividing wall up in this picture, but you’ll see that in the next one down. It’s a big taller than the old one but we wanted storage space, and you just have to figure these things out as you go.
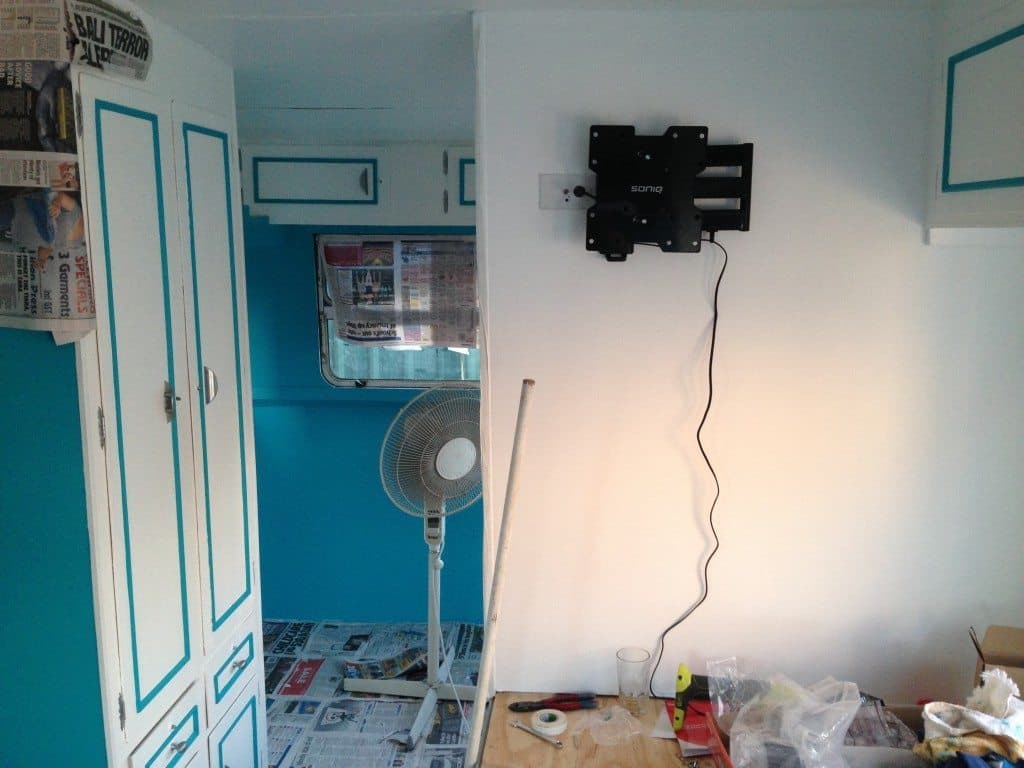
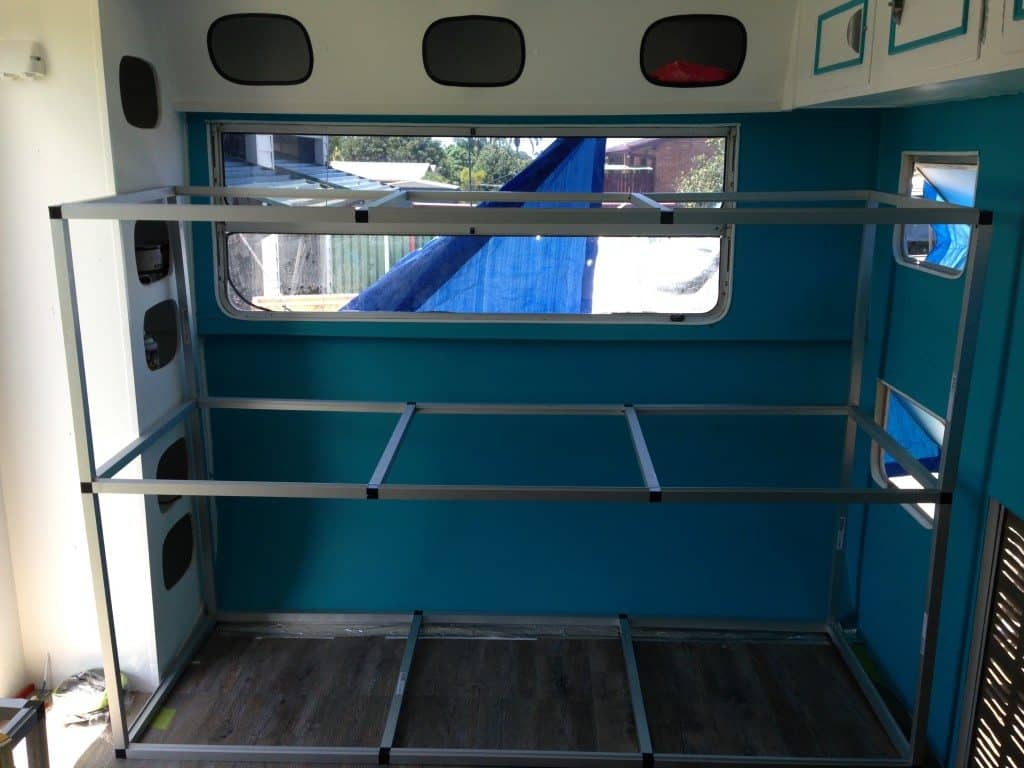
So, at the moment, we have the entire van lined, wired, painted and the bunks and lounge, and new dividing wall between the lounge and our bedroom installed. We have the kitchen and our bed to go.
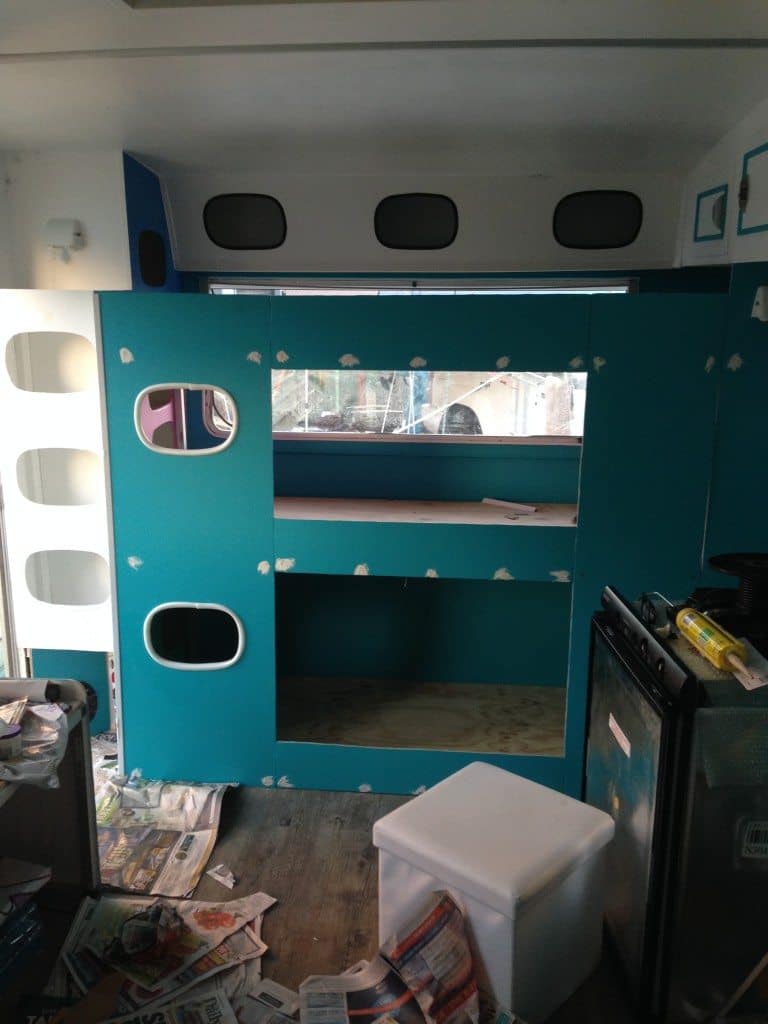
The triple bunks are mostly finished, just some cosmetic work to do, the kids love them and I can’t blame them! It will be lovely for them to have their own space. We utilised the old cupboard to turn it into pigeon holes for them to store toys and goodies. We then created new pigeon holes at the entrance of the door to house the fire extinguisher and blanket, a speaker and charging point. It will be handy to store things like sunscreen, hats and things we need handy daily.
There’s so much we’ve done that hasn’t made it in here, including putting new springs and axle underneath, installing solar wiring and a new aerial, scraping the entire outside edging to be re-sealed, but I’ll do individual posts for those processes once we’re kicking back and enjoying what we’ve created.
This has been one of the most challenging but rewarding journeys of our lives I think, and it isn’t over just yet.




Hi there, we are planning on doing exactly what you are, renovating an old van. Can I ask what you used to feline your van?
Love the bunks, maybe when you are done you can write a list of the things you used to renovate the van, might help someone else in their searching 🙂
Thanks
D
Hi Deanna,
We used a product called Neema Board which we got from Mitre 10. At first we didn’t think we’d have to paint it, but you really do, so we sealed it with an acrylic primer and then painted with wash n wear. The bonus is that it’s totally waterproof so there won’t ever be water staining etc even if she springs a leak again in later life. Hope that helps, and yes, we will eventually get around to listing everything, it’s been a big learning curve but lots of fun too! Thanks for stopping by 🙂
Naughty auto correct, that should say Re line, not feline.
Hi, just wondering what you used to make the frame of the triple bunks
looks great
Shane
We have just bought a 1979 viscount royal and plan to do something similar, although maybe not quite so big a job as you have done! So impressed! We are trying to keep the weight down on ours when replacing cupboards, etc. What product did you use for building cupboards? Thank you for sharing your photos!
Hi guys great job
what did you use for insulation ?
Hi,
Great job! Such an inspirational Reno!
Just wondering what changes you made to auto electrical lighting. We are renovating a 1975 viscount and struggling to figure out what the minimum requirements are. The government website is very confusing
Howdy
Looks great! Doing a reno myself and this this the second van i have seen use the silver aluminium looking square poles to create furniture structures. What is it you are using and where did it come from?
cheers and cheers
Ryan
Hi Ryan, sorry for the delay replying, it’s from Bunnings, but we did end up having to reinforce the spans for the bunks, but it was easy for our non-builder brains to plan and build 😀
Hello, I have read your blog a few times and I must say it has inspired my wife and I, we bought an onsite caravan and have just gutted out the caravan. What did you guys use to line the walls, and the curved walls on the ends?
Hi Roki, so sorry I didn’t reply sooner. We used ‘Neema Board’ which is like a polycarbonate composite that’s flexible and can be painted. They use it for sign writing or marine purposes normally but it won’t be able to be stained etc from water damage even if the old girl does leak ever again!
Hi,
I see this article was written 2 years ago. I’m wondering how all your hard work held up whilst travelling. Is there anything you’d have done differently? Also…. a rough price on what you spent on the entire project? It looks amazing and very inspiring!
Hey Shell,
Sadly for us, we ended up staying put and helping to care for Matt’s Nan who was suffering from dementia. Well I shouldn’t say sadly, we got to help care for her for 18 wonderful months and help her stay in her home longer. The toll that Dementia takes day to day didn’t blend well with the struggles of renovating a caravan.
As the kids were getting older they/we decided to re-settle, so our poor neglected van still isn’t finished! We spent way more than we would have if we’d have known she wasn’t going to be our full time home, and we’d planned to get her finished last year, but we’ve had a pretty bumpy road.
We lost my dad unexpectedly at the start of this year, Matt’s Nan passed away just weeks later and then our beloved dog passed away recently too, so for us, it’s just a matter of enjoying family time and togetherness even though we aren’t on the road at the moment.
We will be finishing her though! All our receipts are packed away in boxes after we had to move out of Nan’s so once she’s finished we’ll tally it all. I would say at least $6,000 – $9,000 in total from memory, but that includes all the insulation, appliances, nema board lining, new axle, upgraded suspension etc. We will eventually take her on a journey and I really can’t wait!