by Loreena Walsh | Caravan Renovation, Featured Posts
Well, I just downloaded all the photos we’ve taken of the caravan renovation during our reno adventure. If you’ve been following along on Facebook, then you’ve likely been seeing updates pop up as we go, but simply because of the busy nature of trying to get the renovation done, I haven’t updated anything on the blog.
While the plan is, to post a chronological step through of what we’ve done; the irony is that until we’re done I just won’t have the time, so I’m posting a few pictures that highlight the process we’ve been through and are getting closer to finishing.
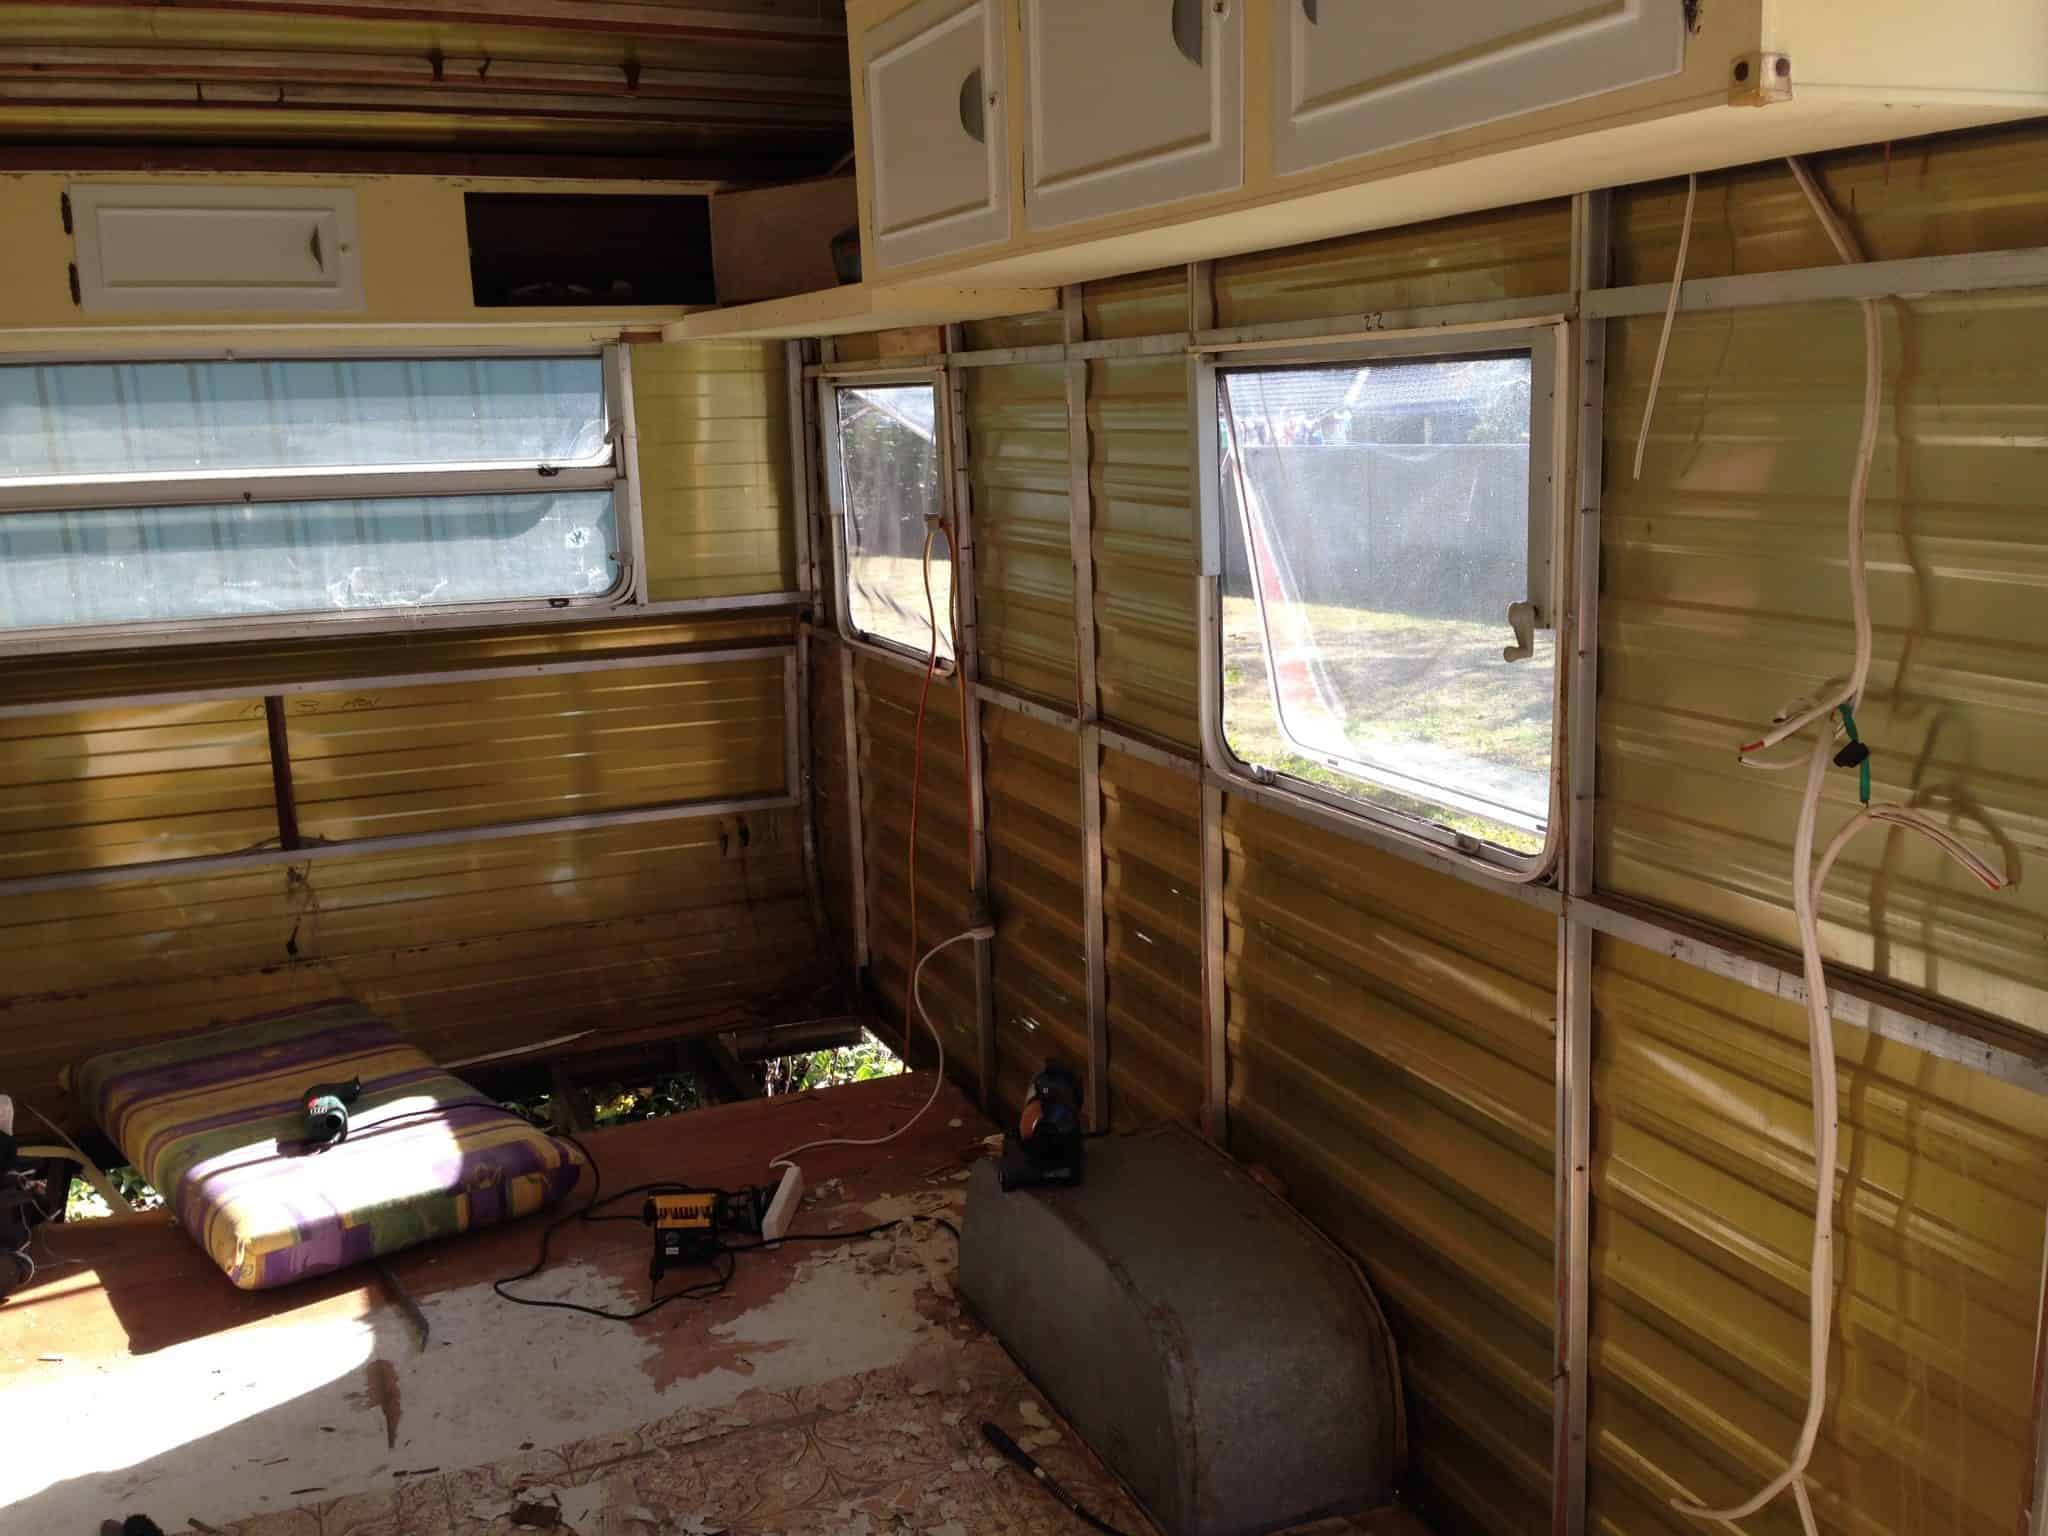
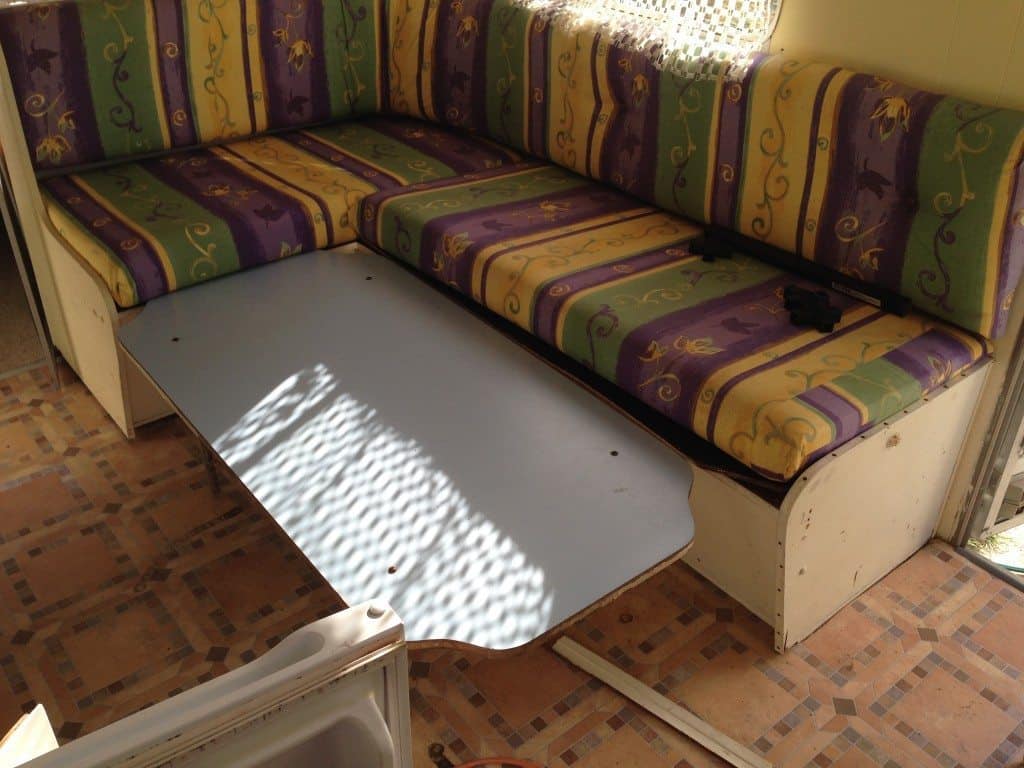
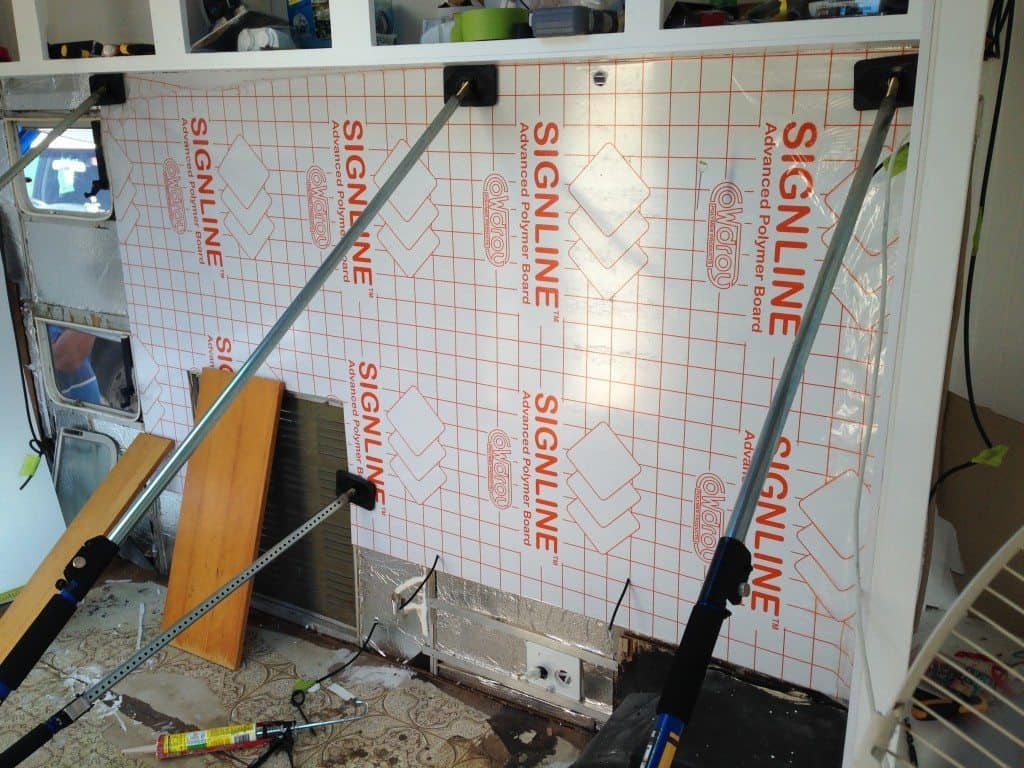
This is the original lounge, I need to find some more of the internals before we started stripping, then in the one below you can see Matt stripping out the internal wall lining, after he’d ripped out the kitchen and the lounge and old beds.
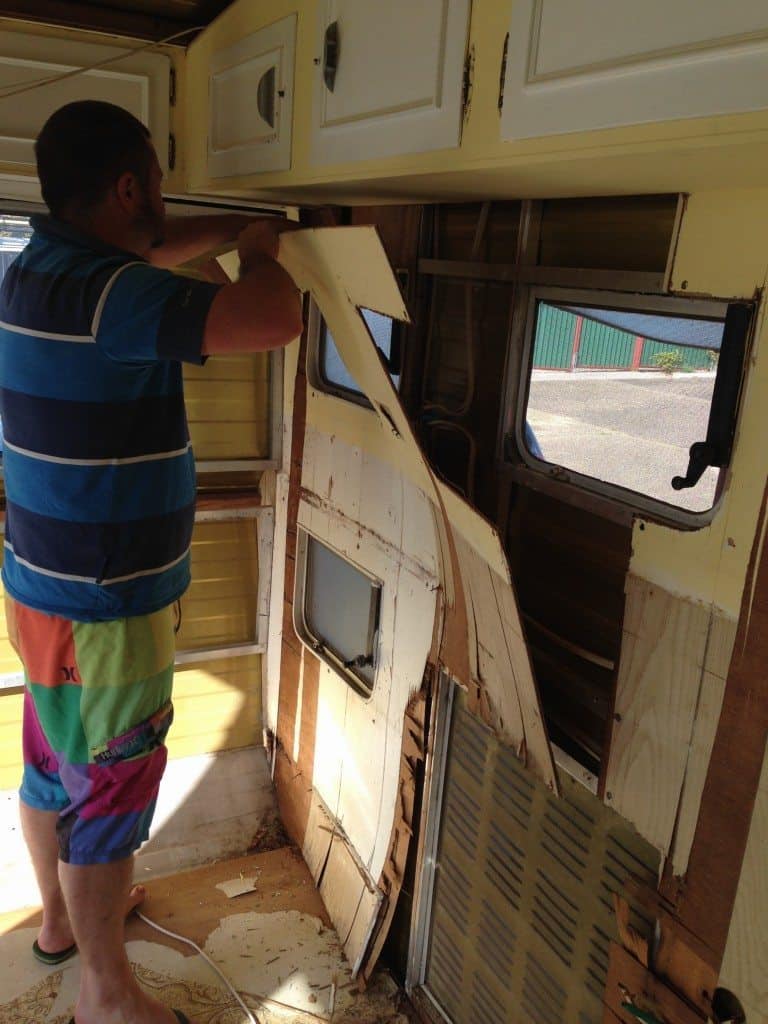
There is so much work in stripping out just in order to put it all back together again, but we got it all stripped out, took out all the old wiring, part of the floor, and had a clean canvas to begin rebuilding.
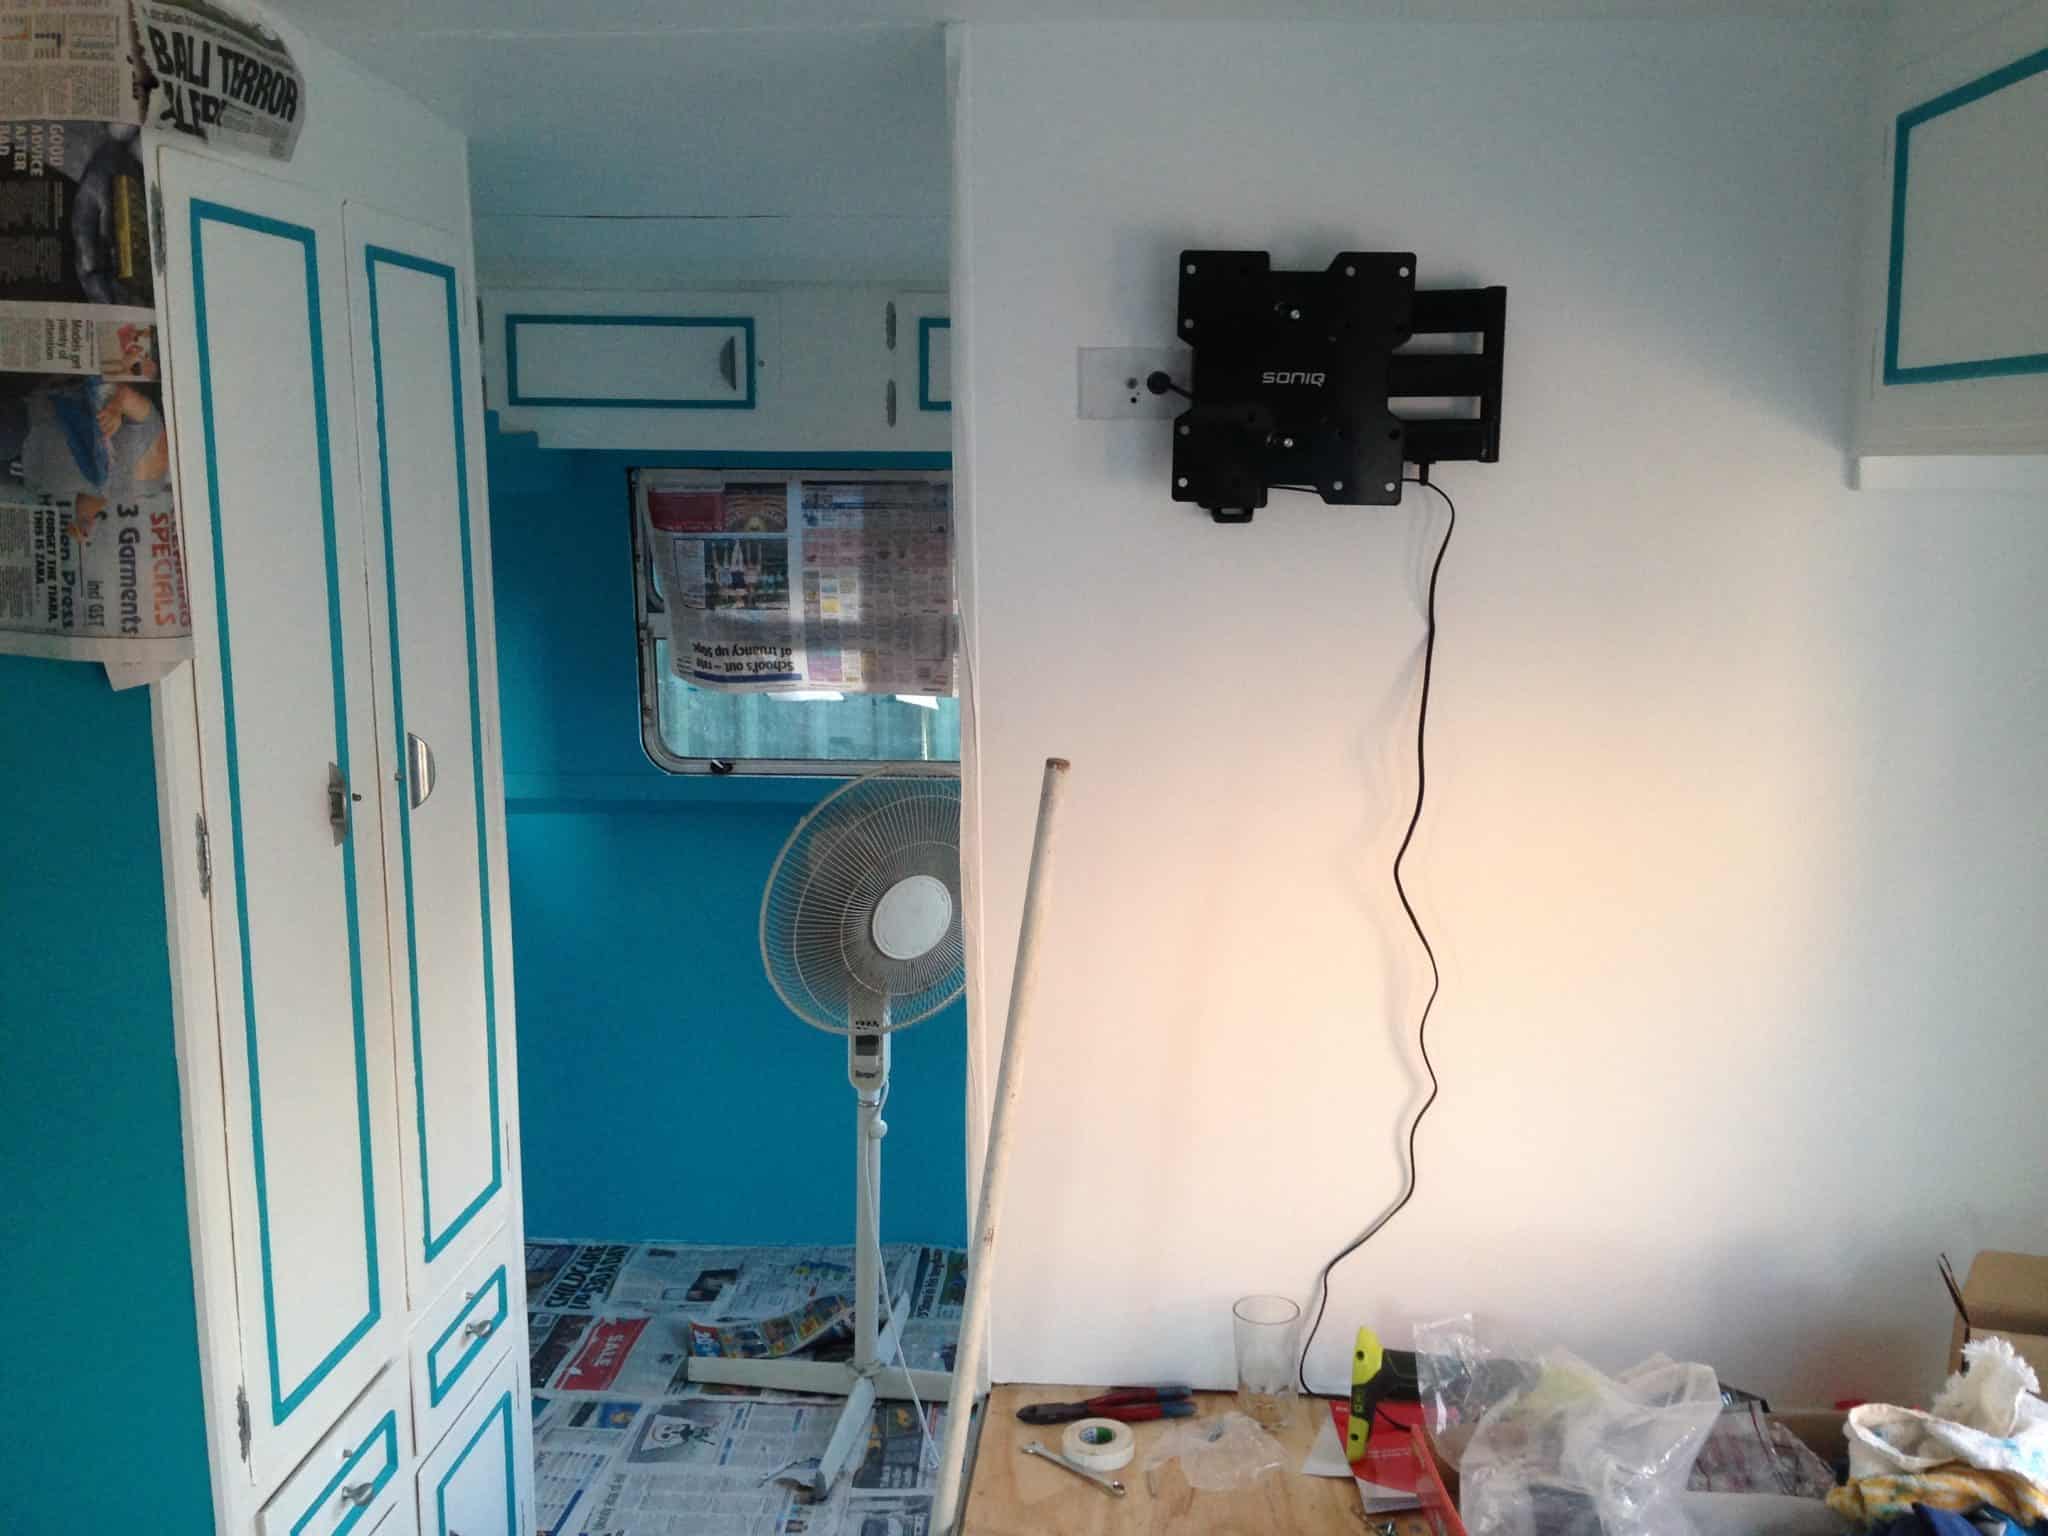
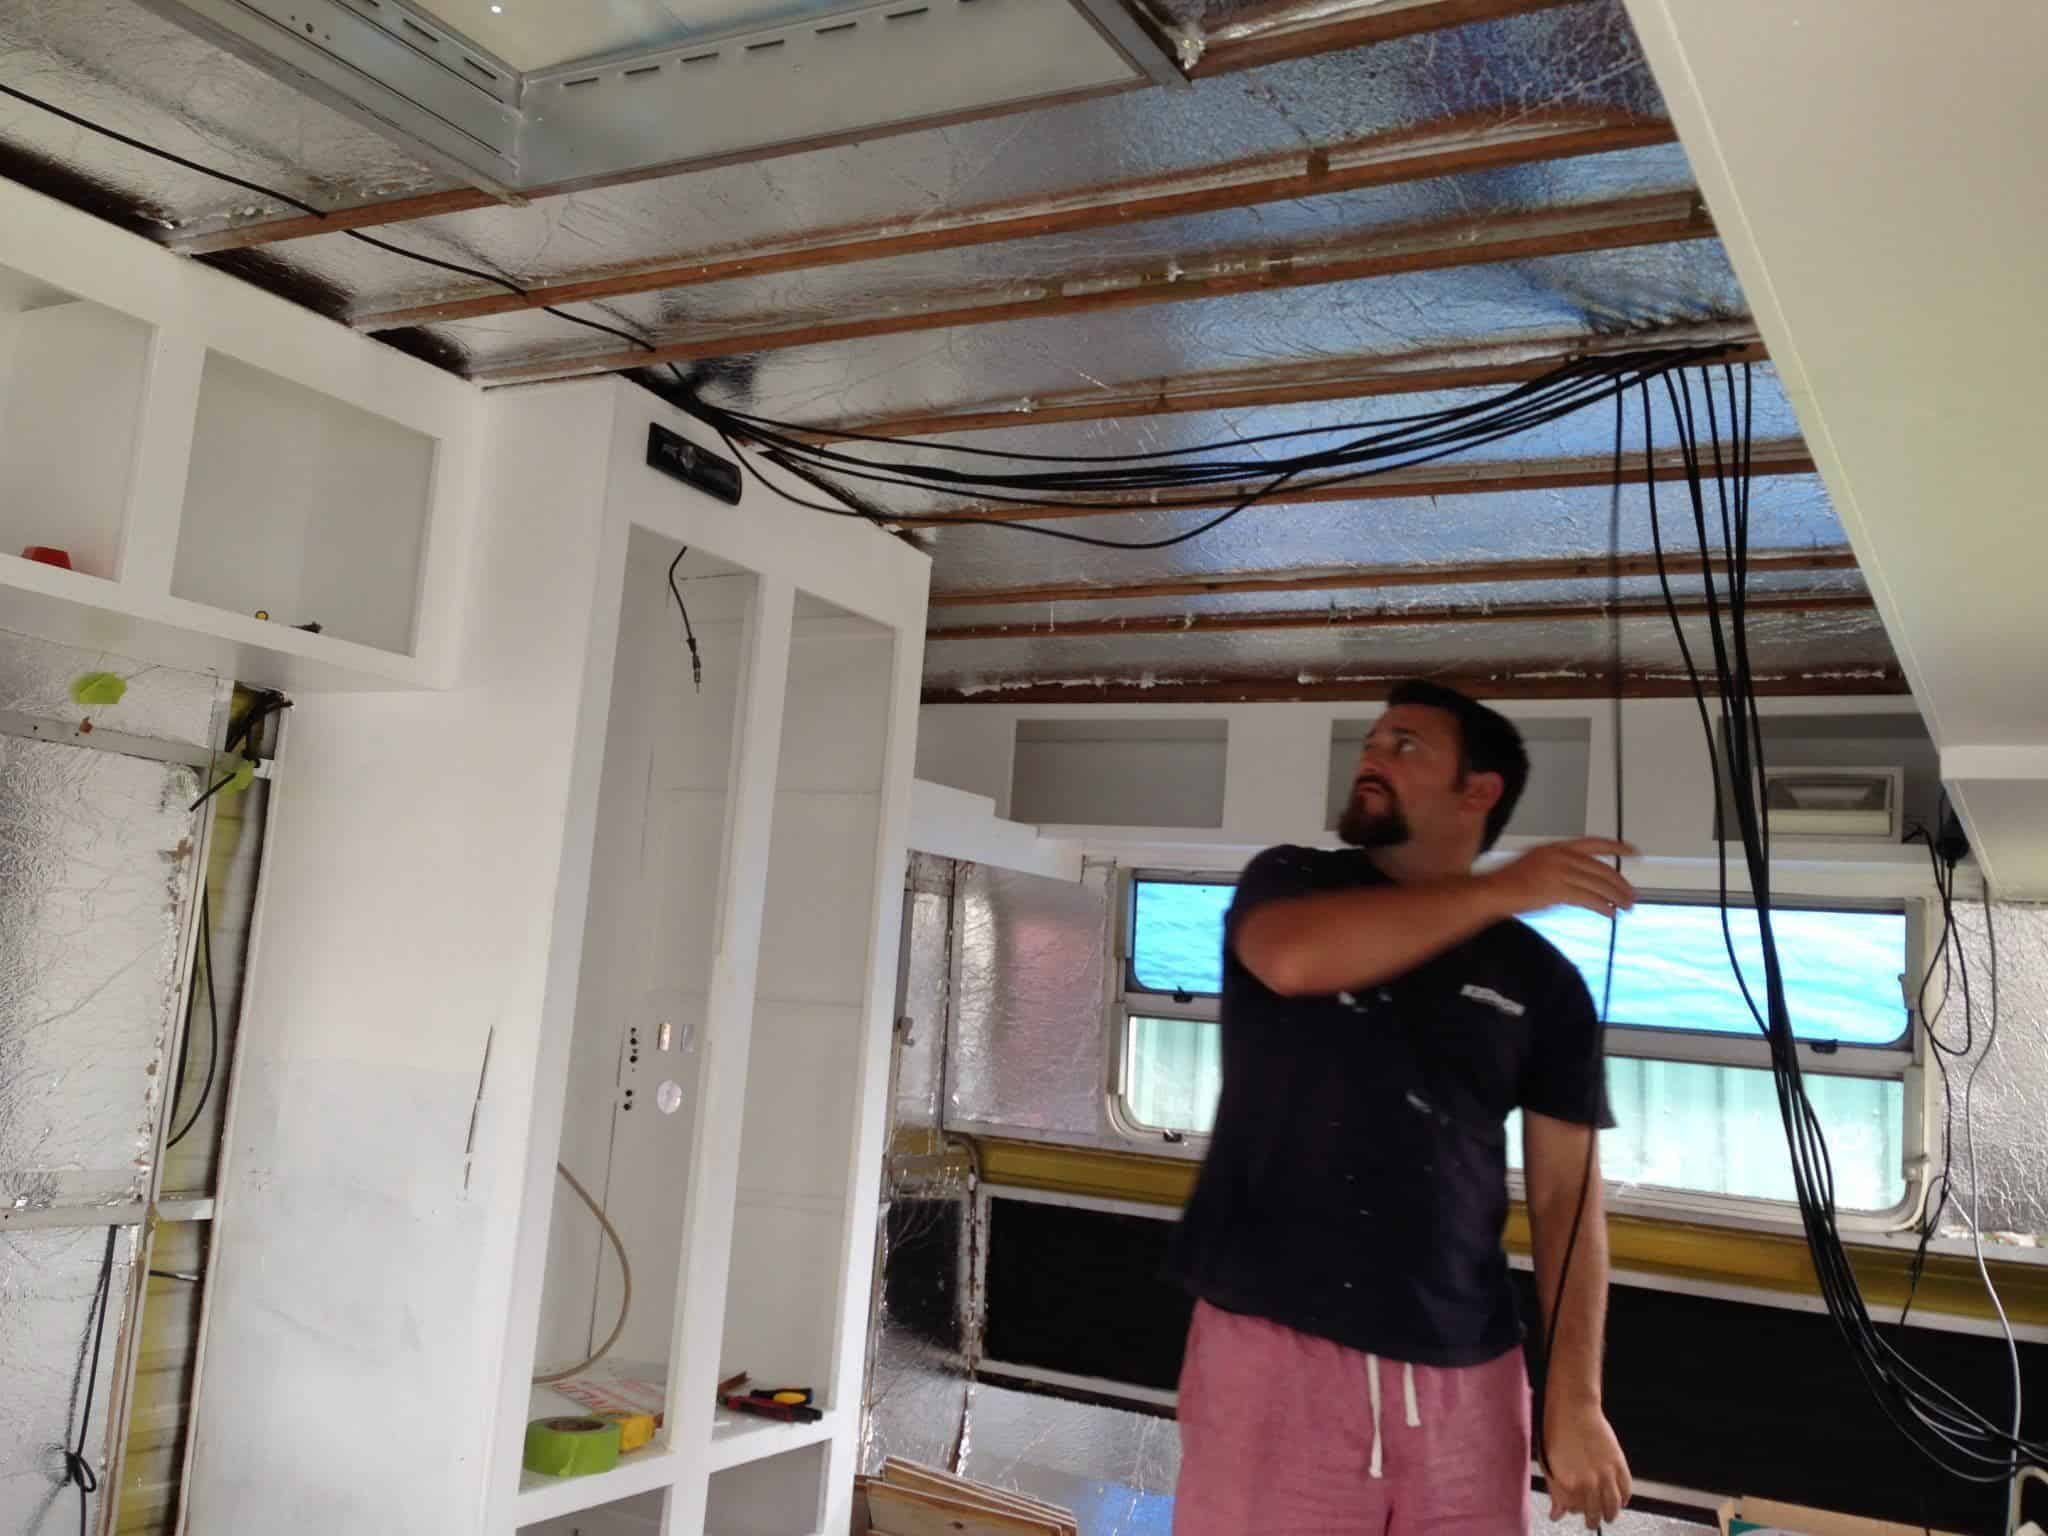
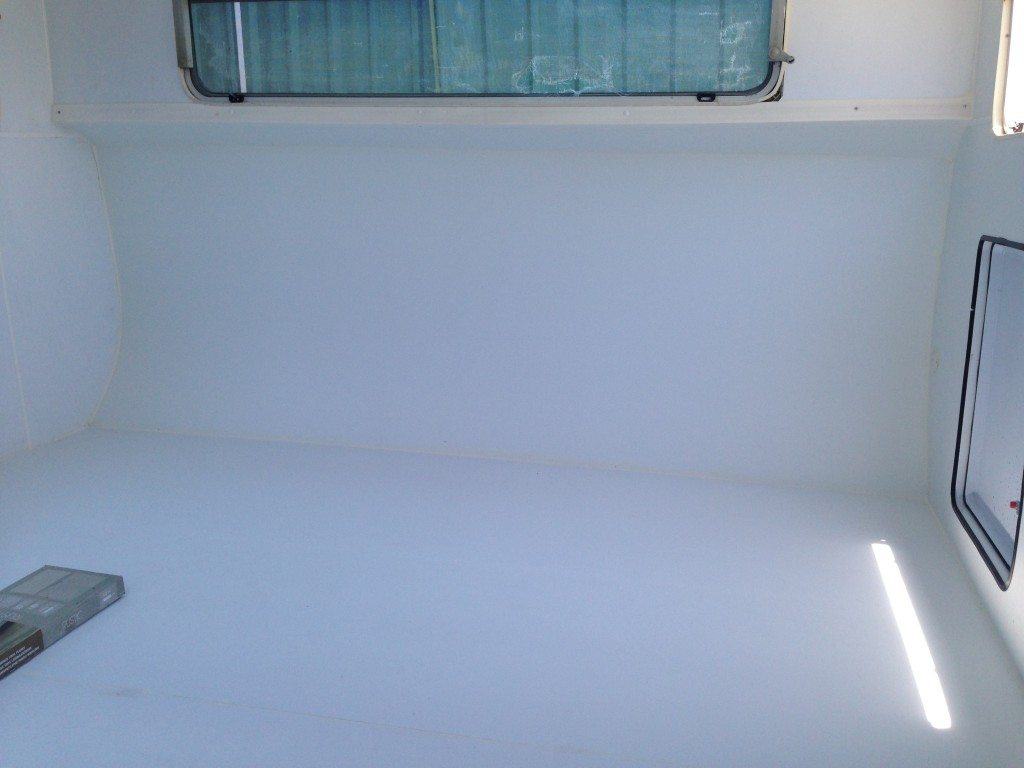
Then there was re-wiring the entire van and deciding where we wanted our phone charging points, lights, stereo and other goodies to go. There is a LOT of wiring running in the van. We got heavy duty dual core so it should last forever and a day. You can see in the photo below, we’ve repained, and insulated as well by this point.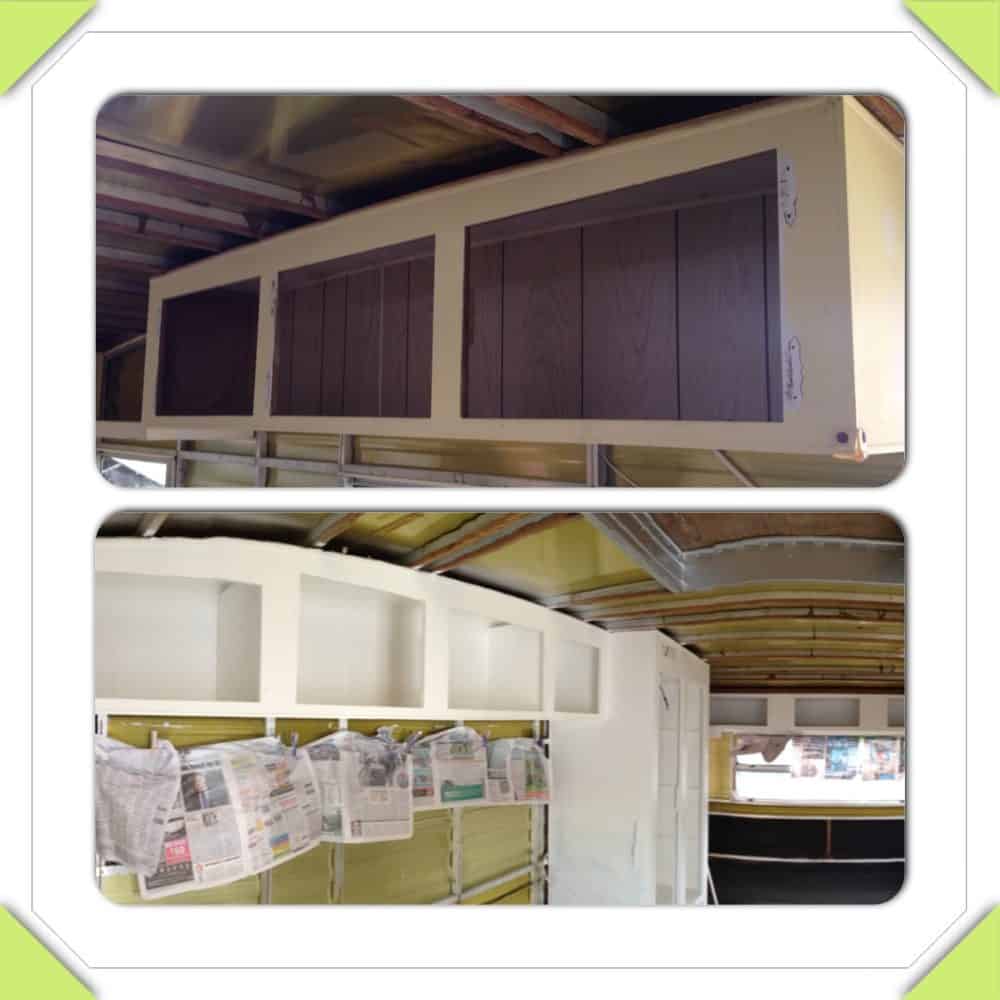

Once many, many hours of work went in, we started to re-line the van.
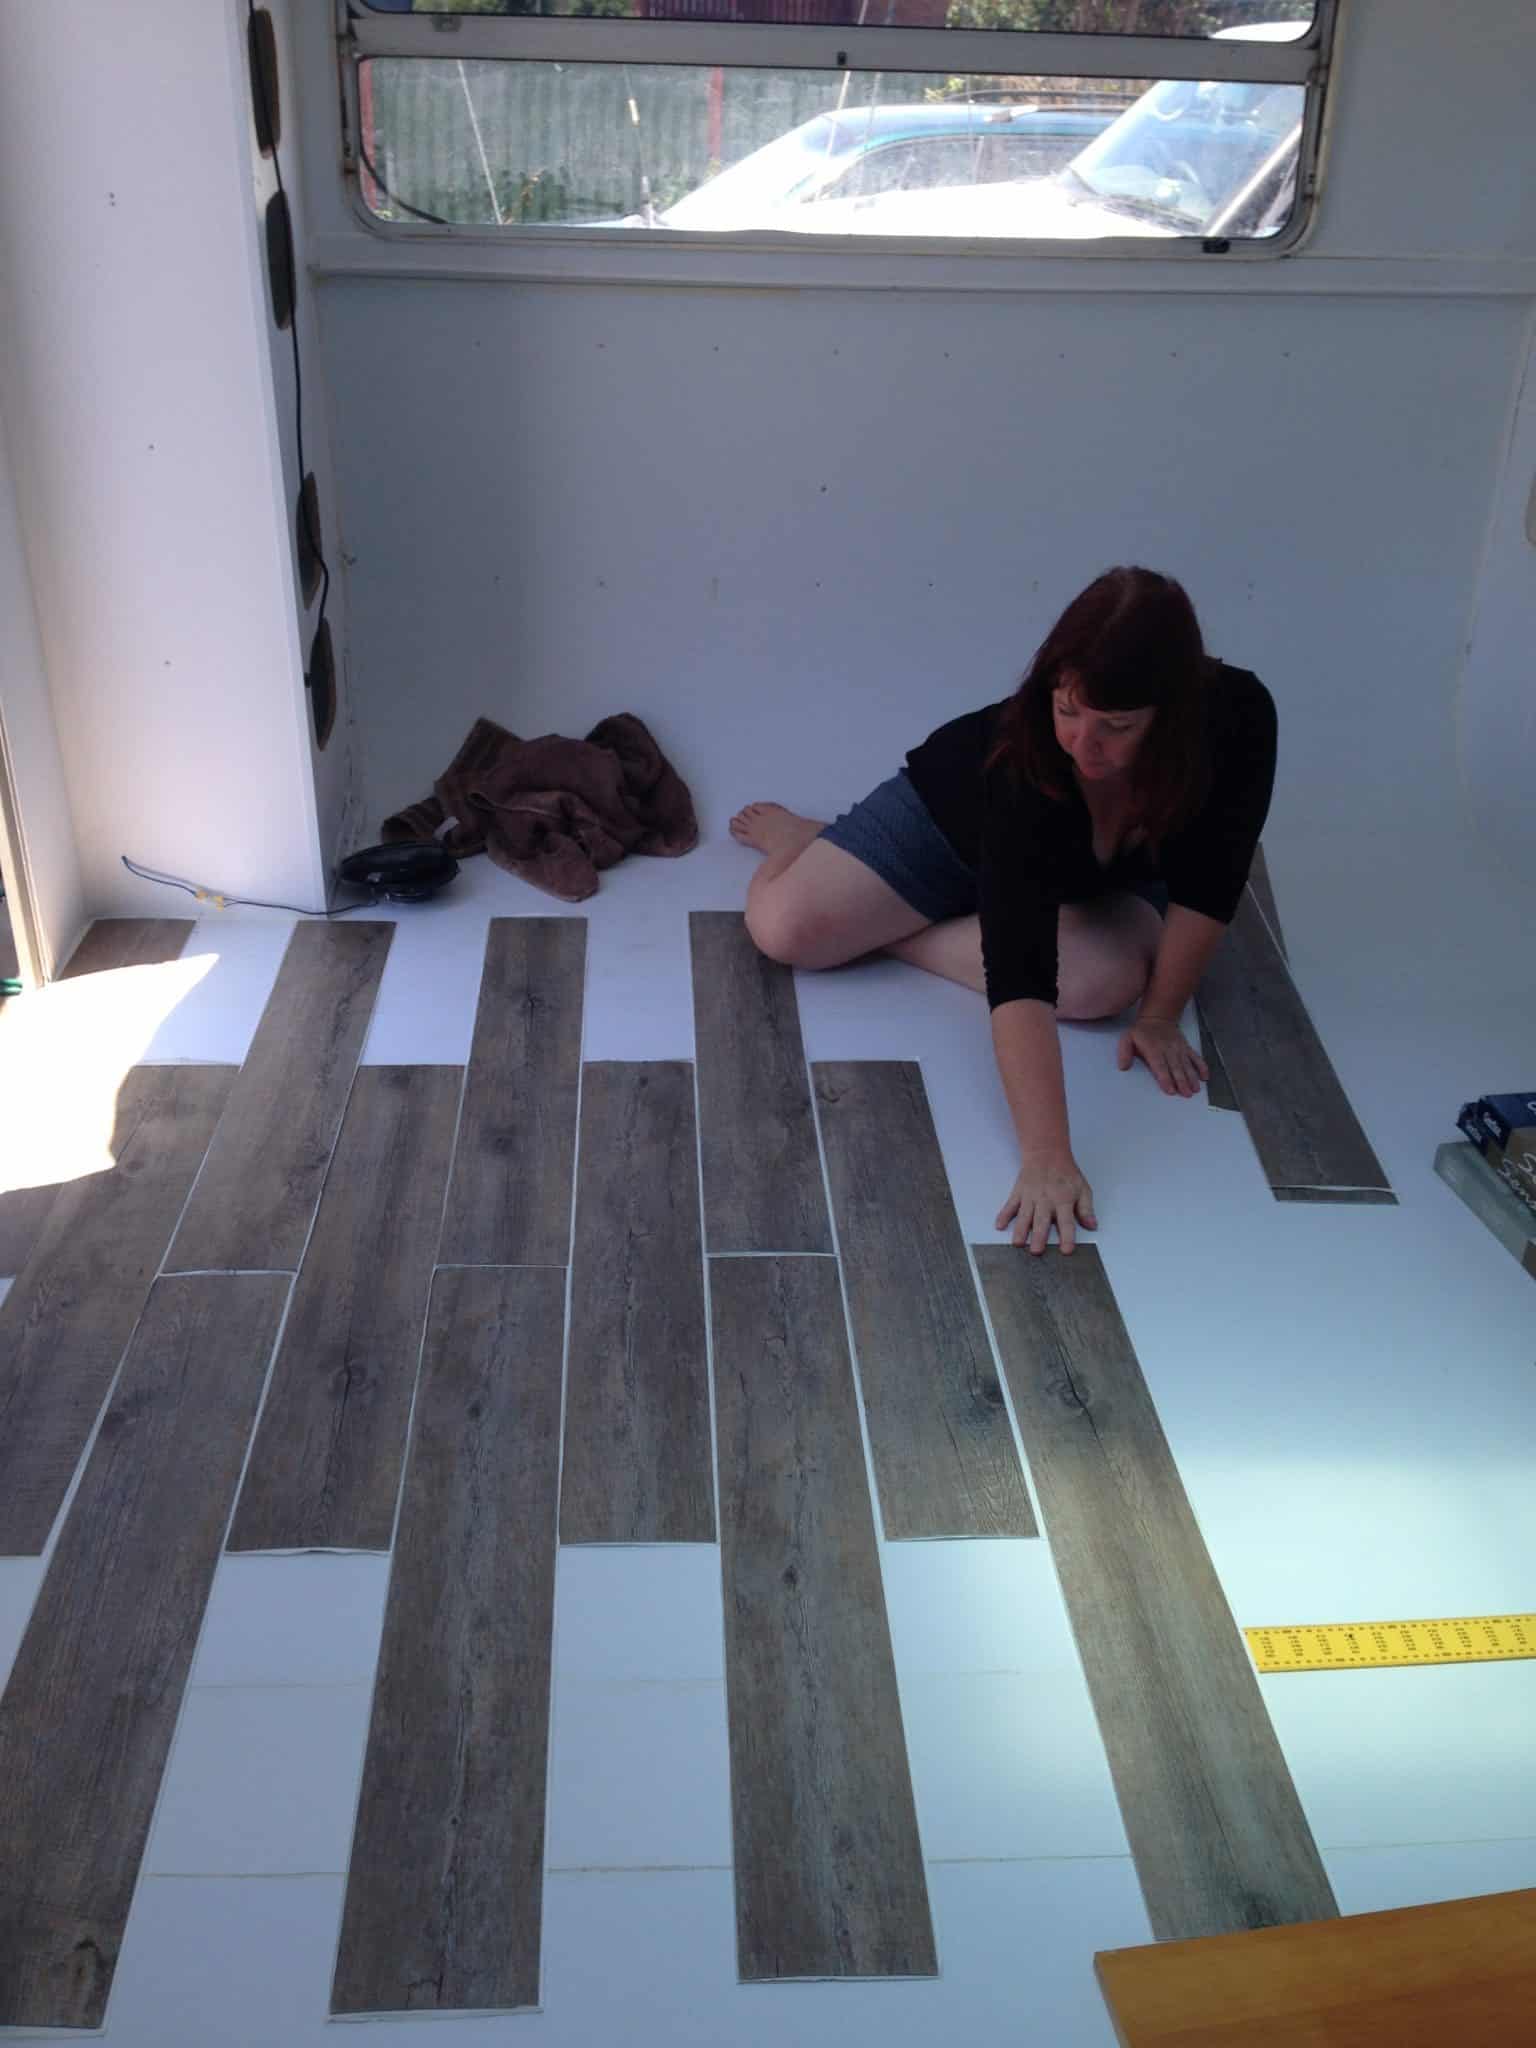
After many, many more hours, we began to get to some of the detail work, we laid a new floor which I love. It feels and looks like old floorboards.

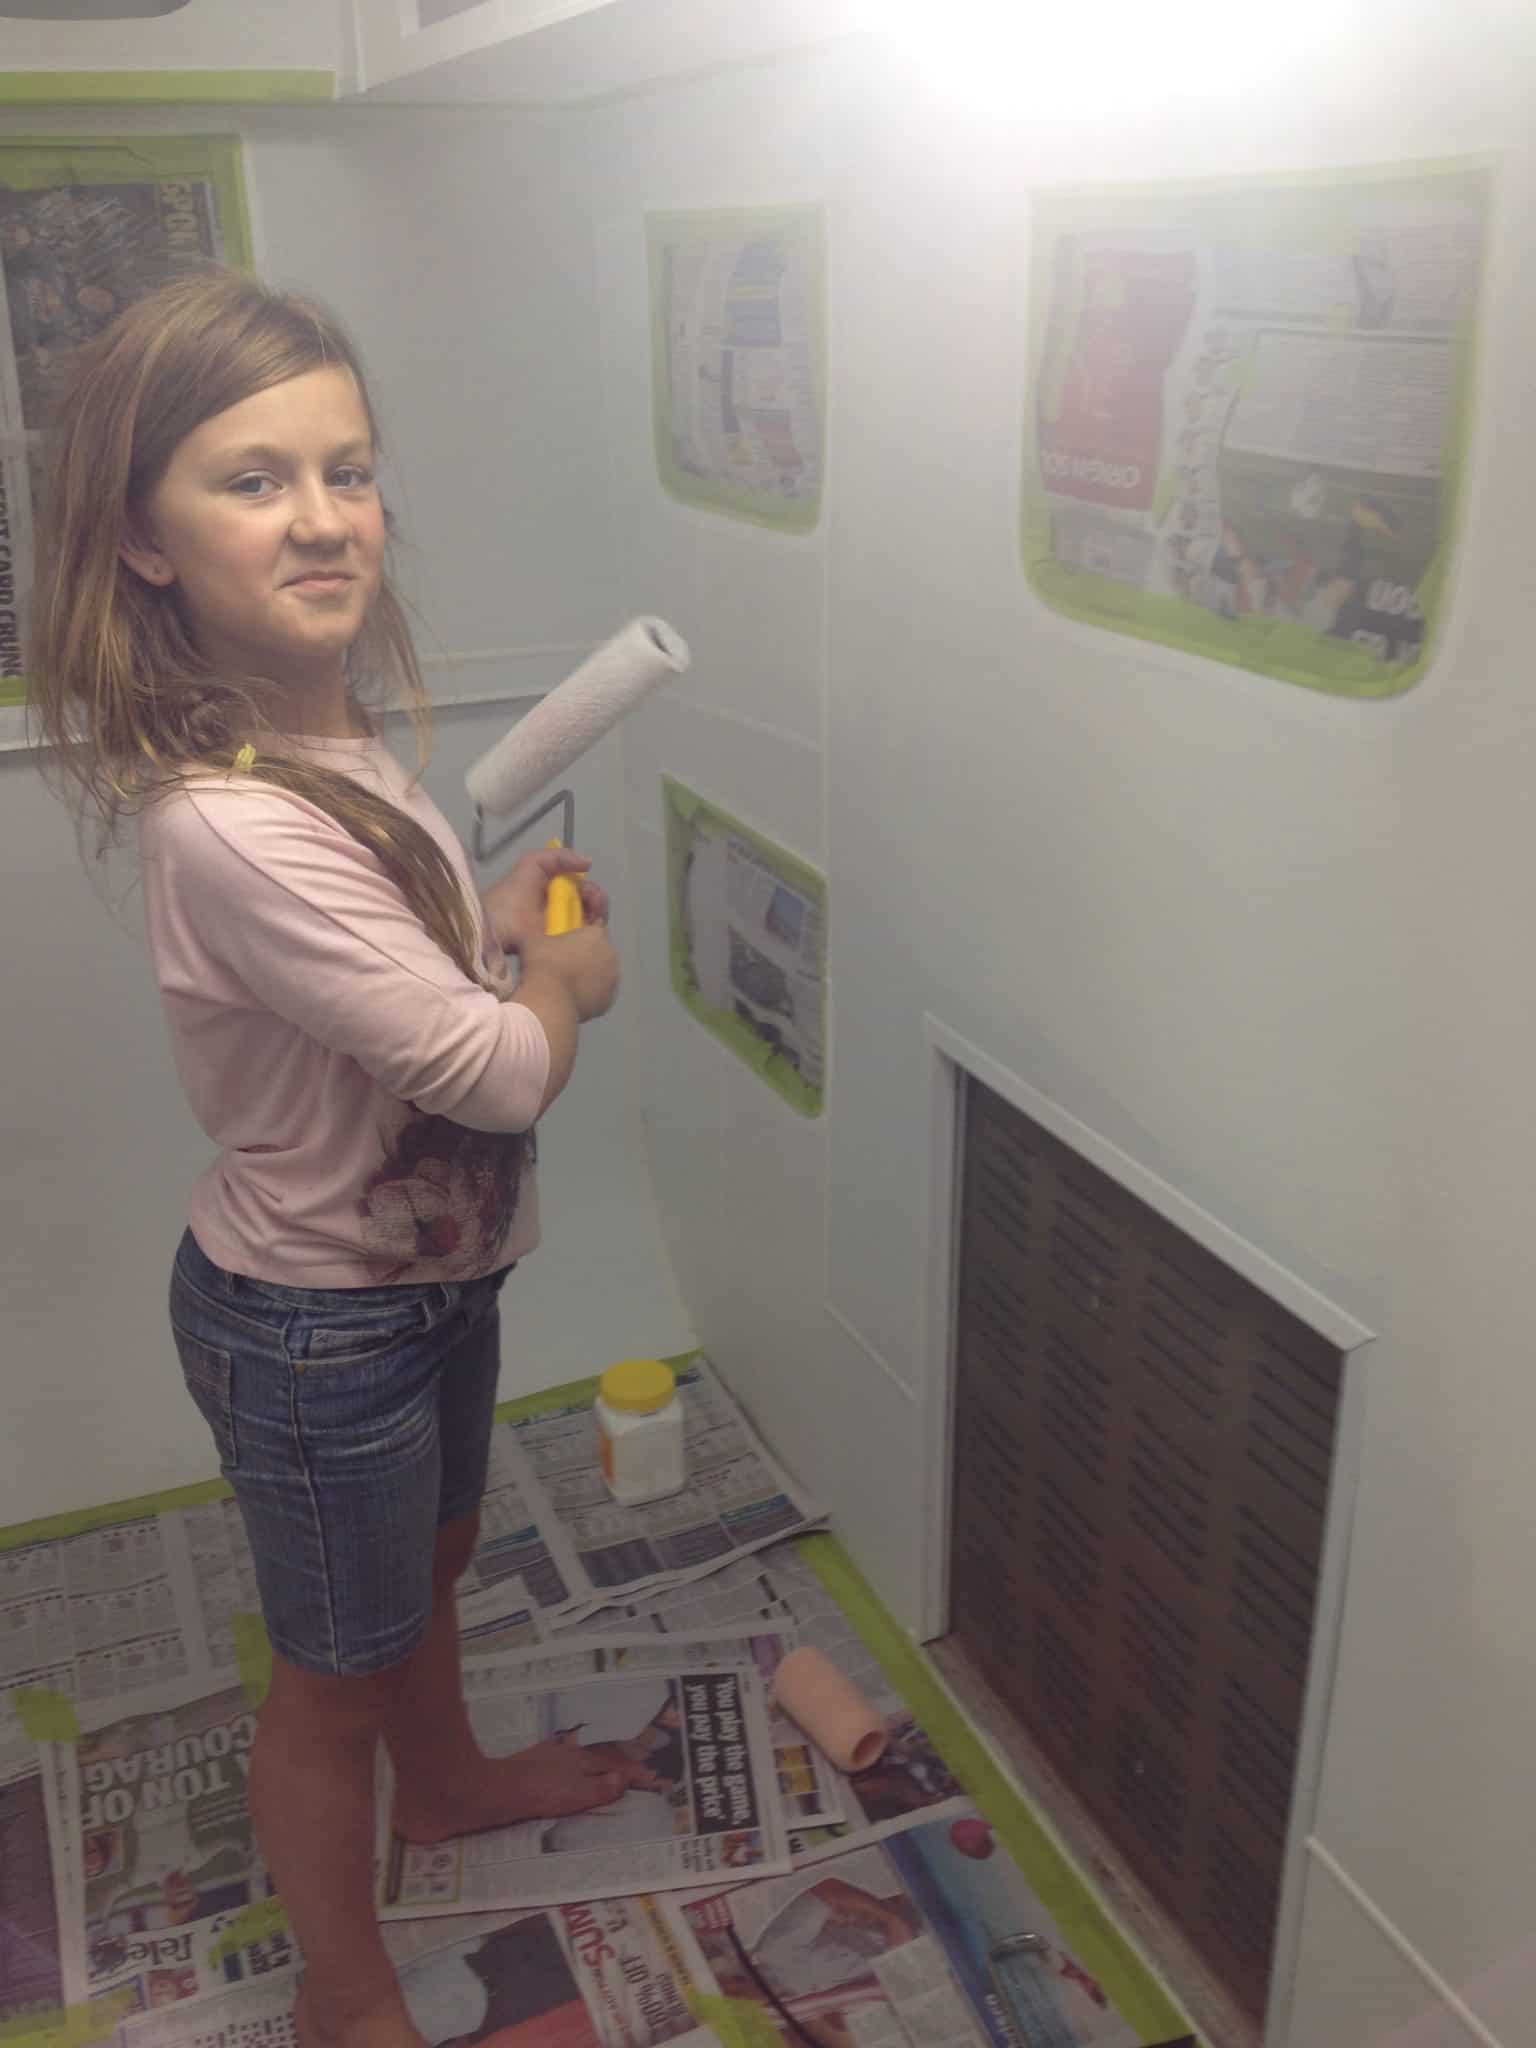
It also included painting… the kids helped to do the undercoat, and then once all that was over we could begin constructing the furniture.

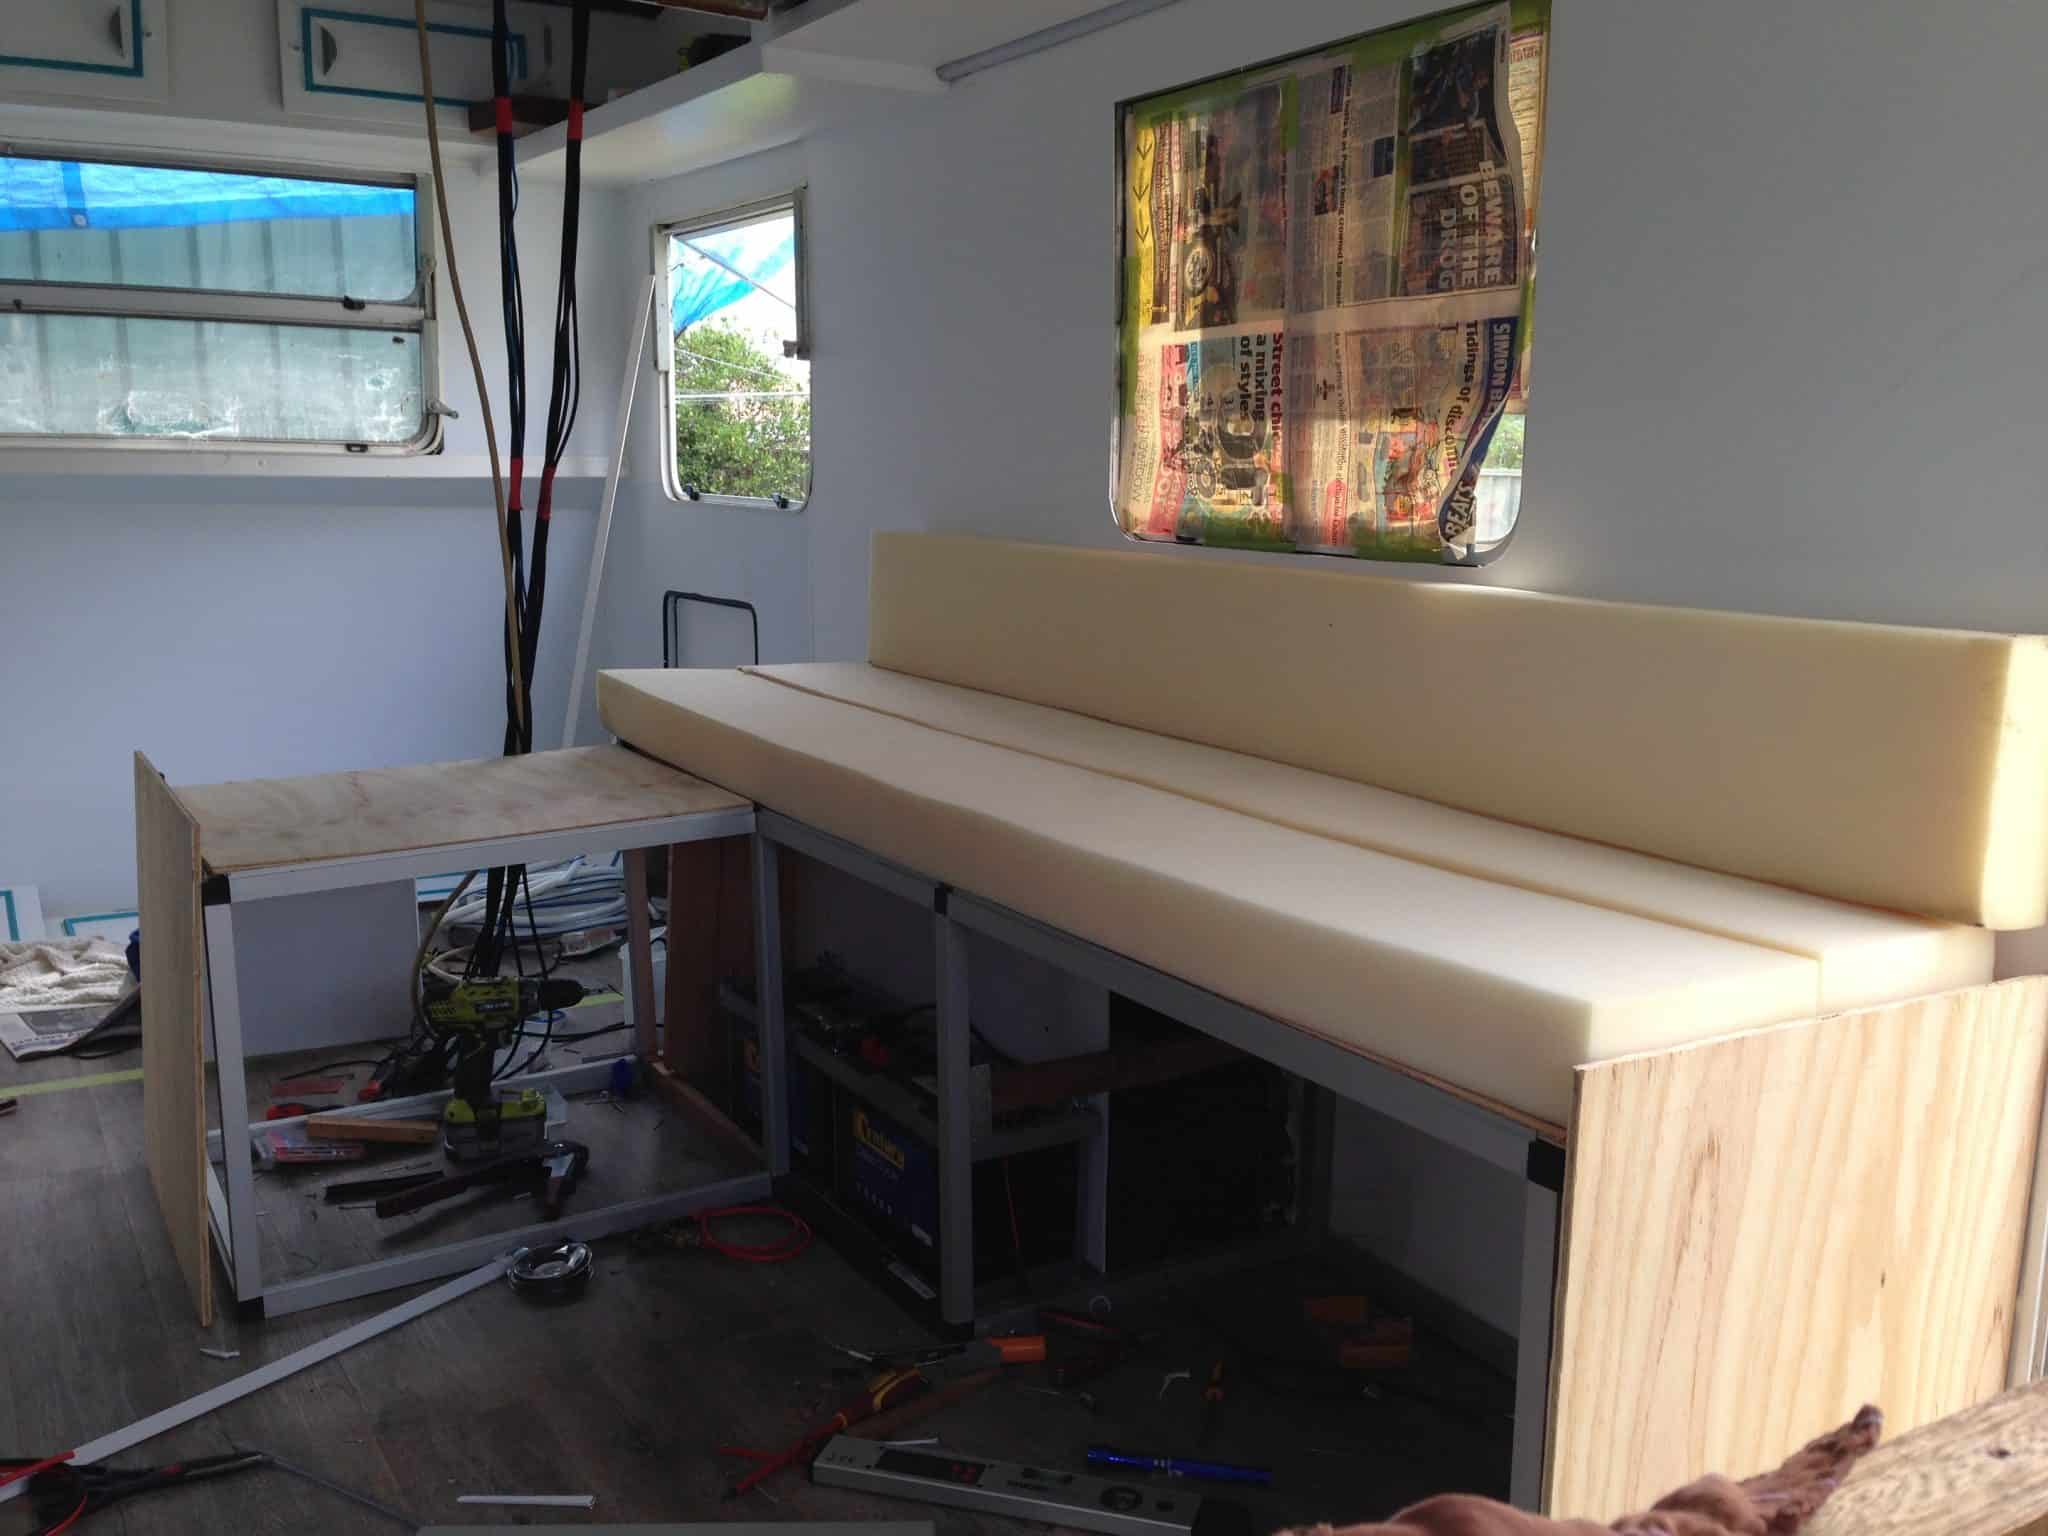
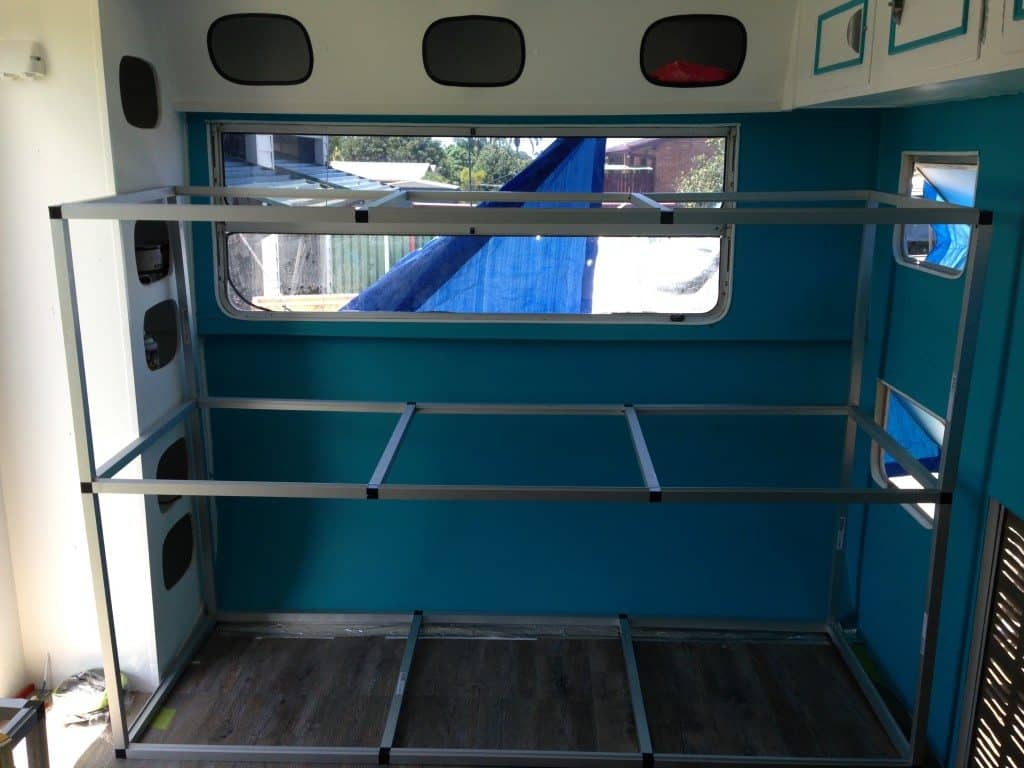
This is the new lounge in progress, it doesn’t have the dividing wall up in this picture, but you’ll see that in the next one down. It’s a big taller than the old one but we wanted storage space, and you just have to figure these things out as you go.
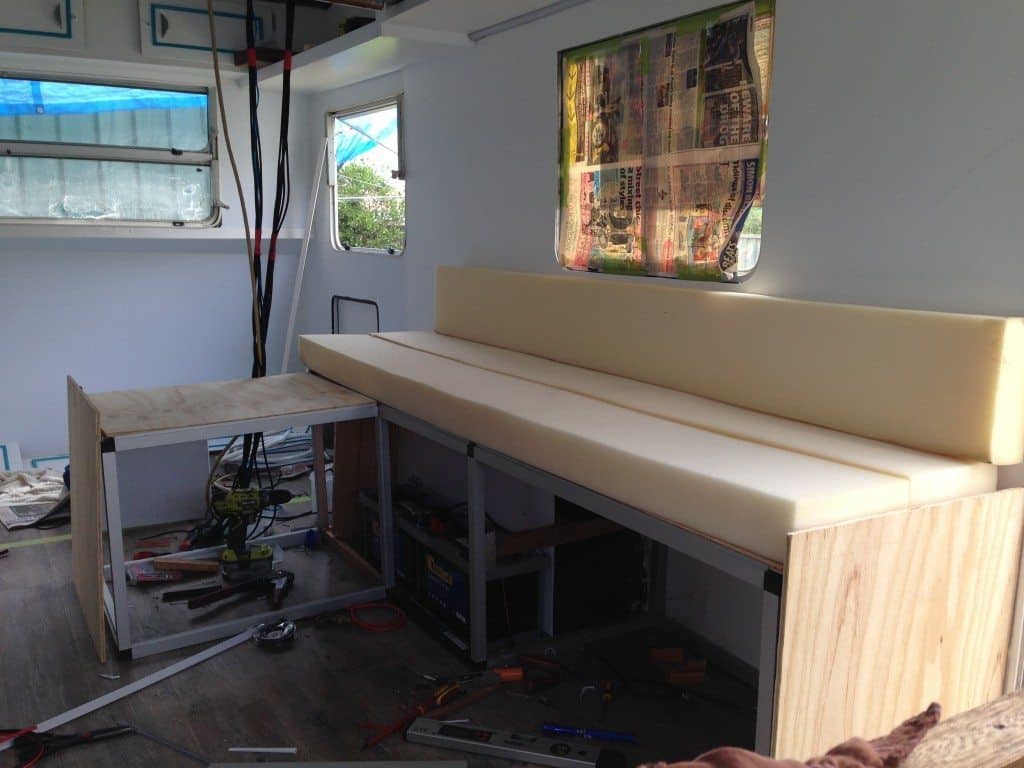
So, at the moment, we have the entire van lined, wired, painted and the bunks and lounge, and new dividing wall between the lounge and our bedroom installed. We have the kitchen and our bed to go.

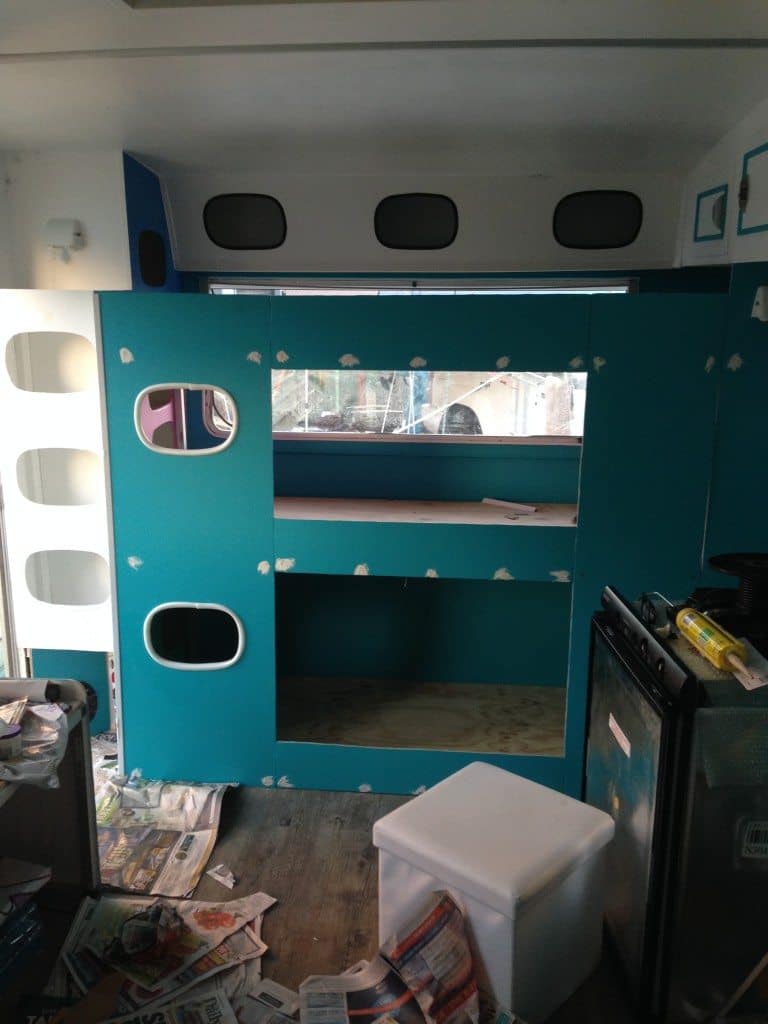
The triple bunks are mostly finished, just some cosmetic work to do, the kids love them and I can’t blame them! It will be lovely for them to have their own space. We utilised the old cupboard to turn it into pigeon holes for them to store toys and goodies. We then created new pigeon holes at the entrance of the door to house the fire extinguisher and blanket, a speaker and charging point. It will be handy to store things like sunscreen, hats and things we need handy daily.
There’s so much we’ve done that hasn’t made it in here, including putting new springs and axle underneath, installing solar wiring and a new aerial, scraping the entire outside edging to be re-sealed, but I’ll do individual posts for those processes once we’re kicking back and enjoying what we’ve created.
This has been one of the most challenging but rewarding journeys of our lives I think, and it isn’t over just yet.
by Loreena Walsh | Caravan Renovation, Featured Posts
One thing we’ve learned on this journey, is that plans never quite turn out the way you expect them to. Personally, my plan is definitely not to plan, but of course there’s always a general guideline for where we’re going and how we’ll get there. When we first planned years ago to travel Australia, we had our hearts set on a Jayco Swan. We tramped through camping show, after camping show and loved the layout, and having the advantage of towing a smaller sized, off-road home and so that’s what we set off on our Australian travels. After less than a year we said goodbye to our Swan and can now introduce you to our newest family member.
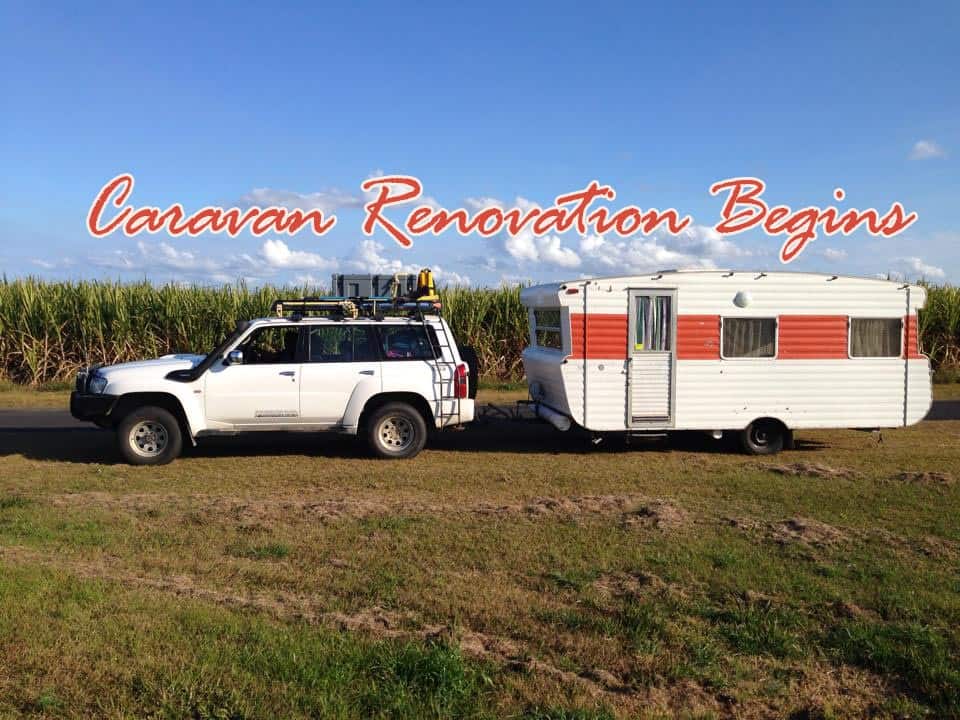
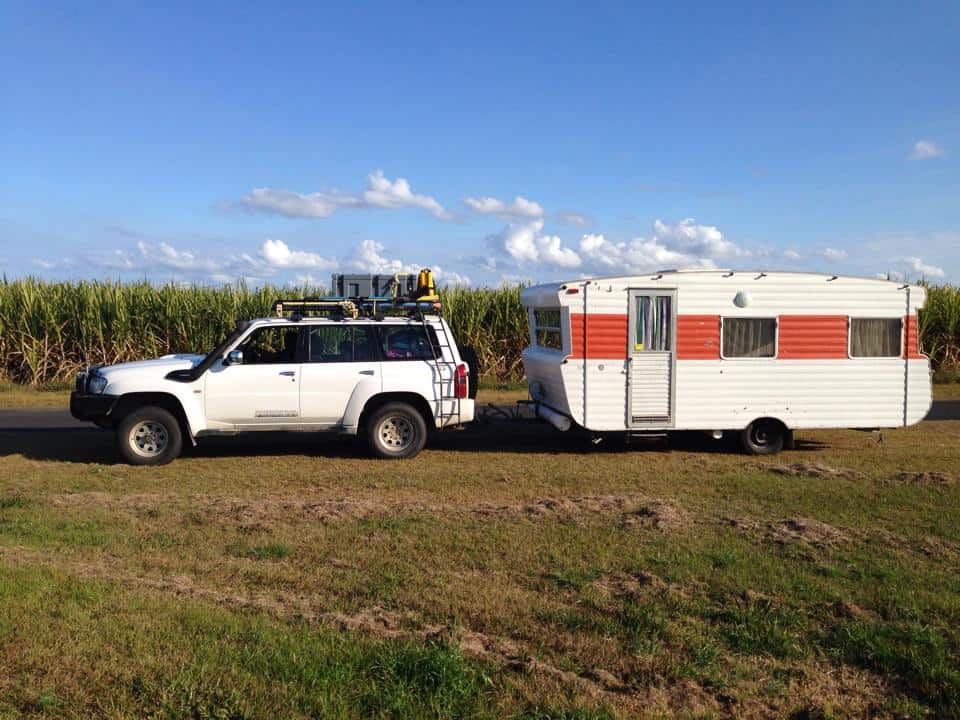
Meet Claire, the 1978 Viscount Royal Caravan renovation project.
It’s not that we weren’t happy with the swan, it gave us good times, was light and easy to tow, had heaps of room and hadn’t let us down at all.
The biggest problem was, the inconvenience of putting canvas up and down, and the fact that everything didn’t have a place because as we folded up and down, packed in and out, there was so much that needed to be shuffled around. It simply got tiring.
As we’d pull up during our Tasmanian camping holiday, we’d see people arrive for the evening, step out of their van, join in for happy hour and we’d still be shuffling, juggling and setting up. Next morning people would hitch up, and off they’d go, while we waited for the canvas to dry from the night dew, packed things in, folded up everything, loaded in the rest and finally headed off for the next destination. It took so much time, we ended up not moving quickly, and sometimes missing out on awesome campsites because we’d totally dodge having to move camps and stay in one place instead. The other issue was that the kids were sharing the queen bed, and I think they were really longing for their own, private space.
So, as we’ve been here spending time with family, we decided that we’d add an extra little bit of adventure to our travelling lifestyle, and we’d renovate an old van and restore it, in the process converting it into our perfect home on the road. We saw the ad on gumtree, made a phone call and drove a couple of hours to pick this old girl up.
She’s been leaking, neglected, and needs lots of love and attention to bring her back to glory, and we really can’t wait to make her own home. She’s a year older than Matt, which makes her 2 years older than me, and we’ve given her the name Claire, a dedication to Matt’s Nan who we’ve been visiting and spending time with.
The kids are excited they’ll have their own bunk bed, we’ll be making under-bed storage, putting in a new 90litre fridge, a gas stove and oven which means we won’t have to carry the weber babyQ around any more either, there will be a lounge with space for all of us, plenty of cupboard space, and the best part is, everything will have a place and when we pull up the car we won’t have any set up to do, we can just step inside and enjoy!
So, expect to see plenty of photos of us gutting and then re-building our old viscount, I truly can’t wait to take her on her first trip as our new home.