by Loreena Walsh | Australian History, Food
Cooking damper is something we do every night when we’re able to have a camp fire, and we get really surprised by how many people don’t know how to cook damper, or are worried about getting it wrong.
We’ve written about cooking damper here, and you can buy our damper cookbook from Kindle (other formats coming soon), but for today, here’s some information on the history of damper.
Damper is one of Australia’s most iconic symbols of bush life.
It was made famous by drovers, who baked this bush bread in the coals of their camp fire, and has been recognised as a staple of bush life for decades.
It is believed that Damper was originally developed by stockmen, who needed a way to carry food with them into remote areas. They’d sometimes be away for weeks at a time with little or no access to supplies, so weren’t able to carry foods that would spoil. Damper, in this case, provided them with a filling food option they could cook easily.

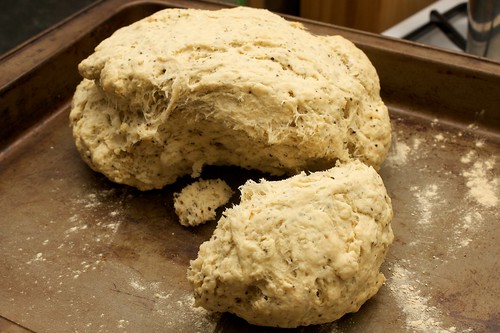
By simply carrying flour and salt, and having access to water, drovers and stockmen could cook their own bread, using these three ingredients. Traditionally the dough would be cooked straight in the “damped” coals of the camp fire, which is where many people believe the name damper originated. Alternatively, wrapping the dough around a stick and holding it over the flames until cooked was also a common way to cook.
Over the years, it became common to cook damper in cast iron camp ovens, and this is still a common method used today. Recipes have evolved to include the addition of milk, butter and lots of other additions. We’ve included tasty and fun variations in our recipes, and we’re sure damper will remain in Australian life for years to come, especially with its ease of preparation and cooking and the never ending variety that can be achieved.
Whether it’s over the camp fire, or in your home oven, damper is a fun, easy bread, and a great accompaniment to a tasty meal.
by Loreena Walsh | Food
We’re so excited to announce our soon-to-be launched e-book: Australian Damper Recipes, which we’ll be launching first on Amazon Kindle Store, followed by a range of versions available right here on site. To help get you in the mood for amazing damper, we’re sharing with you one of our easiest and favourite damper recipes straight from our book:
If you’re not quite sure how to cook damper, we’ll share our tips with you in our e-book, and you can also check out our damper recipe post from a while ago too.
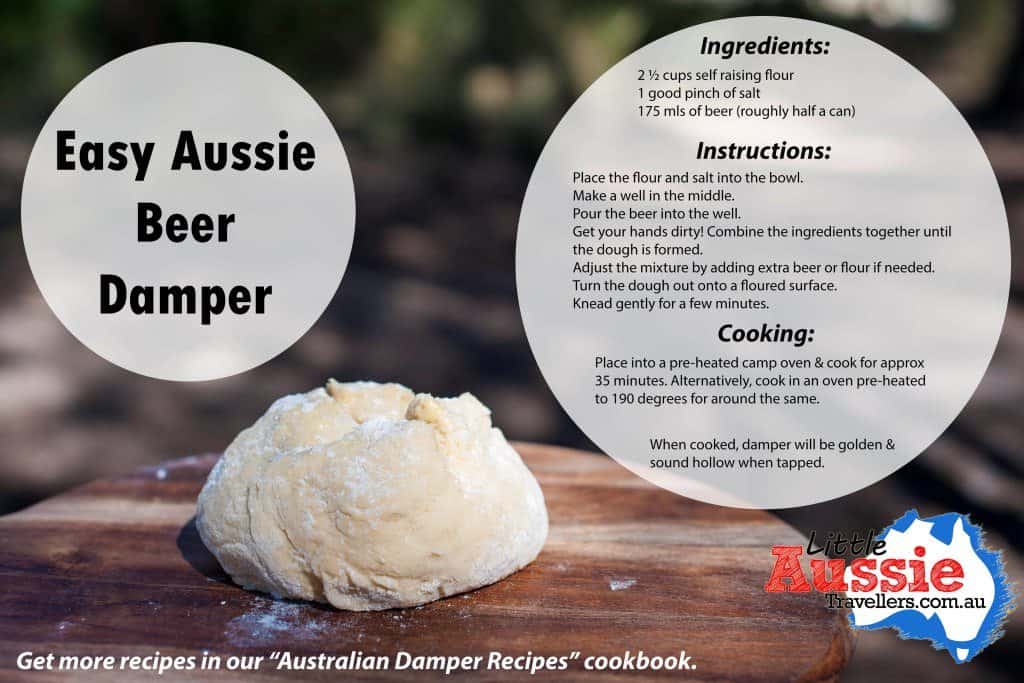
So, here’s a really, really easy recipe, if you’ve ever wanted to know how to make beer damper, then we’ve got just the recipe you need, our Easy Aussie Beer Damper Recipe:

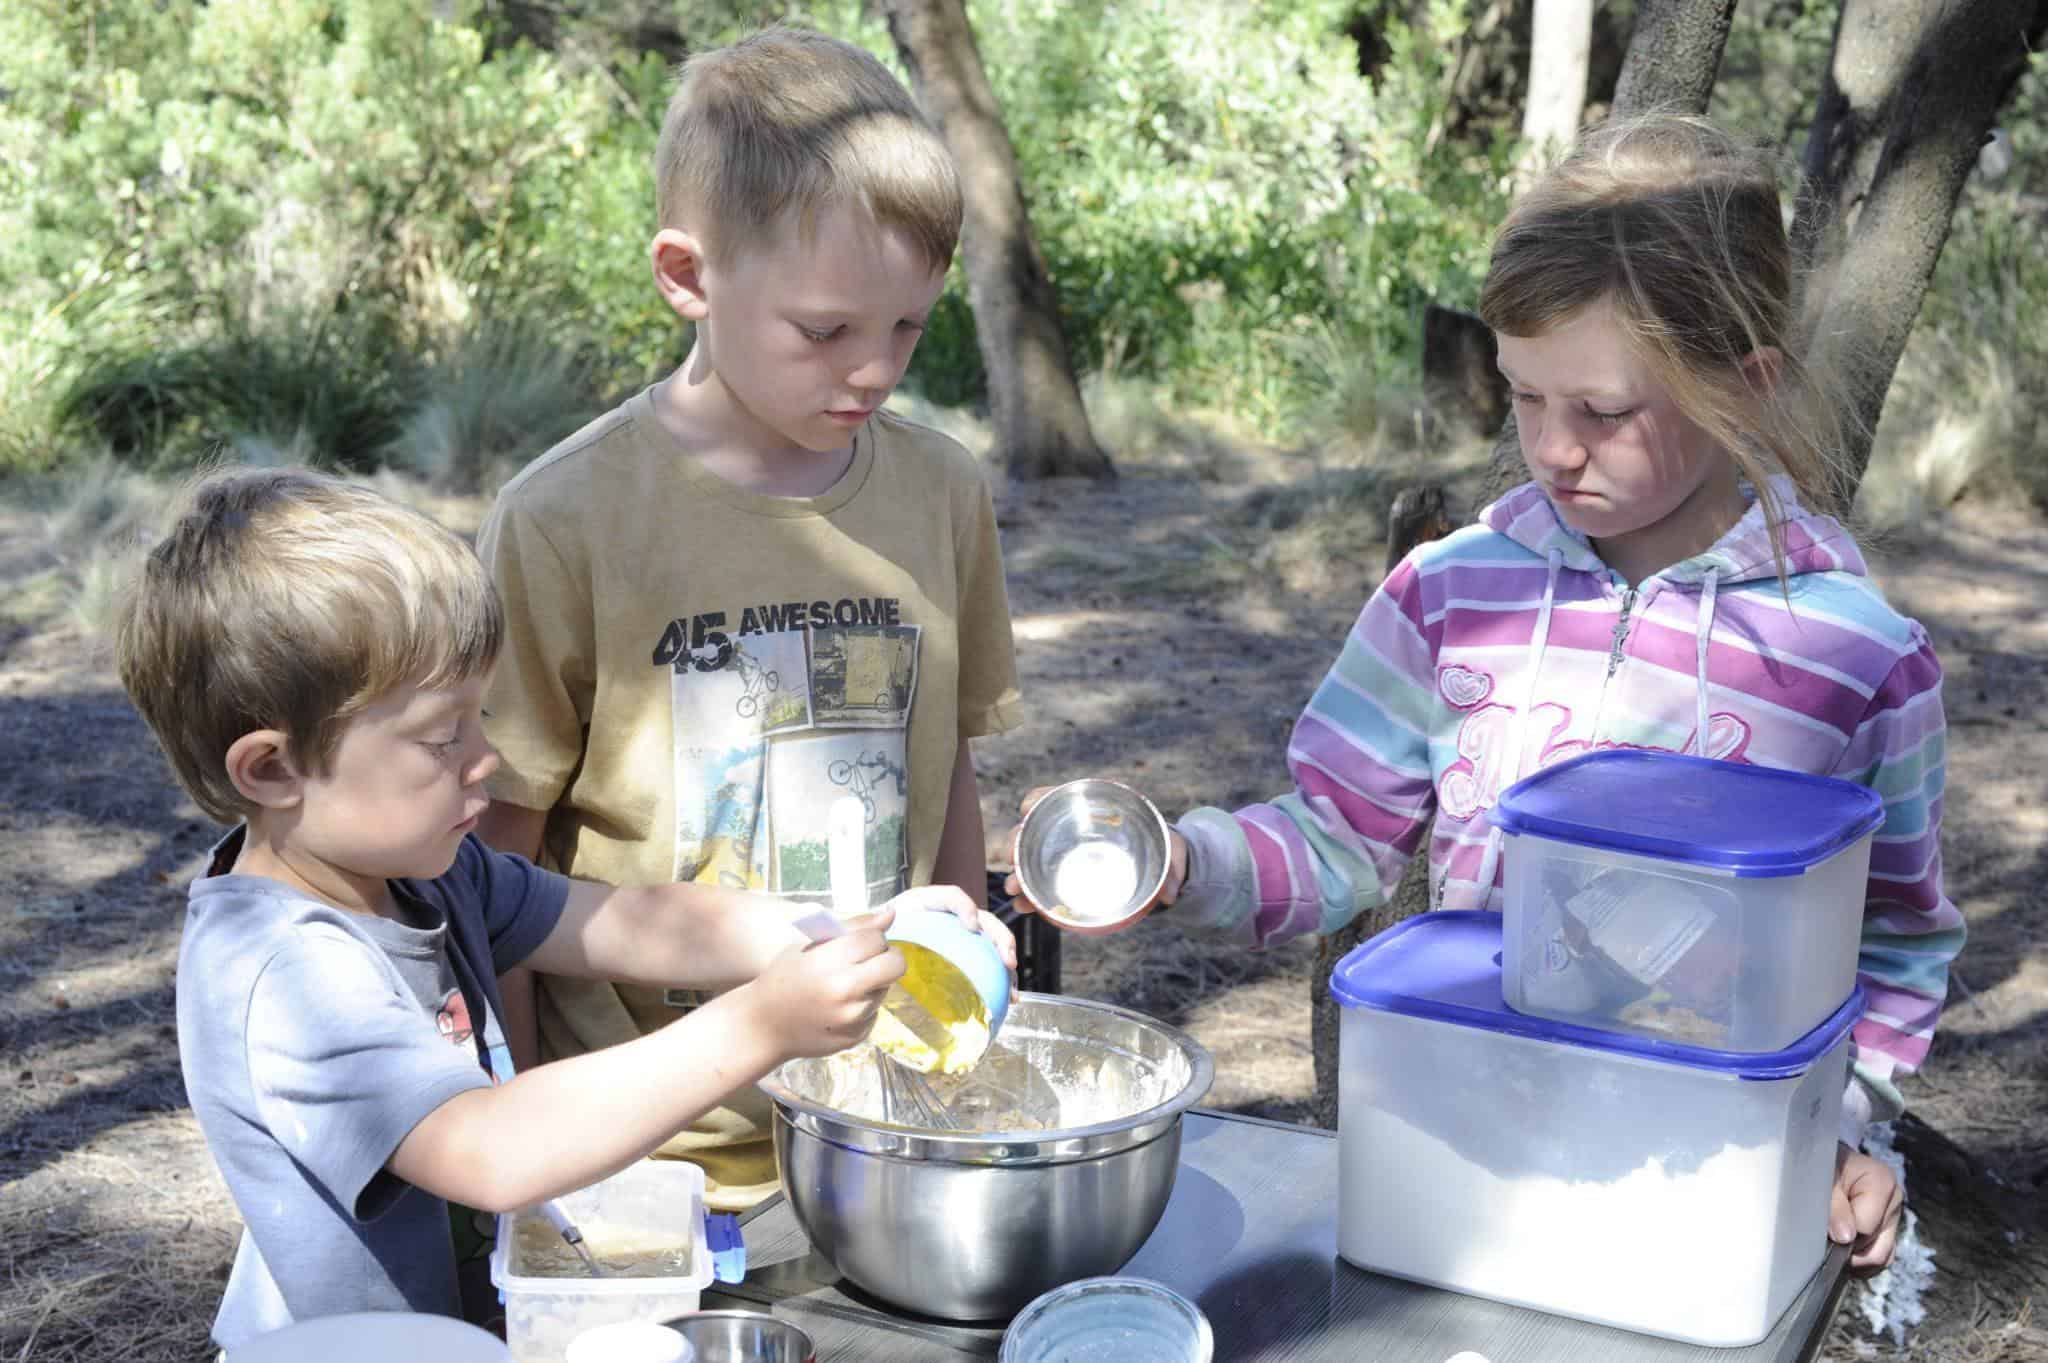
Damper is a really great staple food for families out camping or, even better, believe us when we say that damper is great to eat at home too. It is so easy to cook, and the kids will love helping, so it’s a great family camping recipe.
The best thing about these recipes, is that you can form the damper into a large loaf, or you can divide it into smaller portions and share them out individually. Just reduce the cooking time for smaller dampers. You’ll know your damper is cooked at any size if it’s a lovely golden colour and sounds hollow when tapped.
Enjoy!
Don’t forget to sign up to our newsletter to get the chance to score our damper recipe cookbook for free!
Let us know your favourite family camping recipes.
by Loreena Walsh | Food
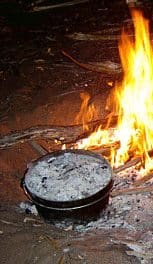
When you’re on a camping holiday be it long or short term, tasty food that can be cooked easily and on a budget is always handy. One of the staples we find ourselves cooking over and over again is Camp Fire Damper. These days we tend to use our camp oven, but have been known to put the damper batter wrapped in foil straight onto the coals, or go the old fashioned method of cooking individual pieces on a stick, it’s all lots of fun.
The best thing about learning to cook a great damper is that you can keep all the ingredients on hand during longer trips without risk of it going bad, and it helps to replace the need for bread which is difficult to keep and hard to get a hold of (or expensive) in some areas.
Today I’m launching our series of Aussie Camp Damper Recipes with a basic damper that can be cooked using minimal supplies, an added bonus for long camp trips!
This recipe makes a great base and don’t be scared to get creative and add things like herbs, sultanas, tomato or anything that you have on hand at your campsite for a bit of added fun and flavour.
EASY AUSSIE CAMP DAMPER RECIPE
Ingredients:
3 1/2 cups self-raising flour
1/2 cup powdered milk
1 teaspoon salt
1 1/2 cups water
(alternative – use 1/2 cup of fresh or long life milk and only 1 cup of water adjusting as needed)
Preparation
Add dry ingredients: flour, salt and milk powder into a bowl.
Add water gradually stirring as you go.
Now the fun part! Add a bit of flour to your hands, get those fingers working and ensure everything is mixed together.
Once your dough is forming, place the mixture on a well-floured surface and knead lightly.
Shape the mixture into a round and allow to stand for 5-10 minutes.
Cooking
Grease & Dust your camp oven with flour and place your Damper inside OR place your damper on some greased foil inside your camp oven
Place the lid on firmly and place camp oven on the hot coals
Cover the lid with coals also and allow to cook for around half an hour
NOTE: The damper will sound hollow when you tap it once it’s cooked.
by Loreena Walsh | Food
I try my hardest to cook nutritious but yummy food for our family, we aren’t big take-away or junk food eaters, but once in a while it’s nice to have a bit of a cheeky bite to eat that tastes absolutely yummy and the biggest bonus is that the entire family loves this recipe! If I can get all 5 of us eating the same thing without any complaints, I know I’m on a winner, and you will be too.
Cooking Equipment Needed:
The great thing about Coca Cola Chicken is flexibility. This dish is cooked in 2 dishes, one for the chicken and one for the rice. You can cook this recipe several ways. I’ve used:
- Our Dream-Pot or
- the camp oven on the fire or
- you can simply use a gas cook-top with a large frypan,
- or an electric frypan if you have one of those.
- For cooking at home, a covered baking dish in the oven does the job perfectly!
You will also need standard things such as tongs, and something to serve on. You will also need a saucepan to cook your rice.
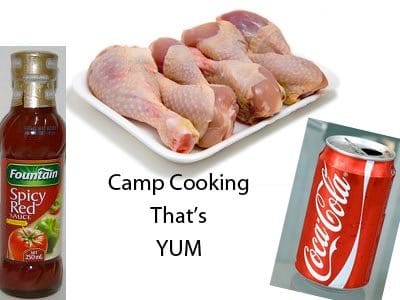
Coke Chicken Ingredients
2 kgs of chicken legs
1 bottle fountain spicy tomato sauce
1 can of coca cola (may need slightly more for larger dishes or the camp oven).
Standard serve rice per person (1/2 – 1cup of uncooked rice per person depending on appetite)
*Optional veggies or salad
*Optional corn flour to thicken coca-cola gravy juices.
Directions:
Place chicken legs in chosen cooking dish, a single layer is best, but not essential. Pour over spicy tomato sauce and can of coke. (In a flatter style baking dish at home, 1 can of coke will be plenty, keep in mind if you are cooking in a deeper dish and aren’t able to lay the chicken out in a single layer, that you may need slightly more coke to almost cover the chicken). Cover with lid.
Cooking Time as per Cooking Method:
- Electric Frypan or Gas top cooker: Keep chicken at a steady simmer for around 1hr turning half way through.
- Dream Pot: Bring chicken and sauces to the boil. Keep at boiling temperature for 10 minutes and transfer to Dream pot for a minimum of 2 hours and maximum of 8. If you have a twin Dream-pot you can cook your rice at the same time.
- Camp Oven: This recipe will need a steady but not scorching heat. Place the camp oven with lid on over some rested coals a short way from the main fire as to maintain heat but not burn. Refresh Coles half way through cooking and check and rotate chicken at this time if desired. Recommended 1-1.5 hrs but be sure to check before serving due to differences in camp cooking situations.
Hints and Tips for Cooking Coca Cola Chicken
- Once the chicken is almost done, feel free to mix in a small amount of cornflour to the pan juices. This helps to thicken the juices up into a lovely gravy.
- You will be able to tell that the chicken is cooked as the meat begins to pull away from the bone. Please use your own judgement.
- Serve the chicken legs on rice, or as an alternative, serve on mashed potato. Salad or veggies on the side also makes the meal stretch further.
- Vegetables can be added to the recipe to create a more stew-like meal. Potatoes, Sweet Potatoes, Celery, Corn, Beans and Onion are examples of items that work well.
- For a bit more spice add some chilli to taste
- For younger children, remove the meat from the chicken drumstick and mix it into the rice with some extra sauce, creating their very own yummy stirfry.
Summarised Review of Easy Coca-Cola Chicken for Camping (& at home)
[easyreview title=”Easy Coca-Cola Chicken Review” cat1title=”Good For Families?” cat1detail=”Great for families, both on the road and at home. The great thing about this dish for camping is the ease and the ability to please everyone” cat1rating=”4″ cat2title=”Ease of Cooking” cat2detail=”This recipe is so easy even our 6 year old knows how to cook it! A great meal that can be changed around by itself, with side dishes, as a casserole, the choice is yours” cat2rating=”5″ cat3title=”Value for Money” cat3detail=”While chicken can be costly, if you’re feeding a large number of people, the ease and likeability of this recipe reduce the pain of the chicken pricing! The fact that it can be accompanied by plain rice and only consists of 3 ingredients to cook the chicken is a bonus too!” cat3rating=”4″ summary=”I think you’ll have a hard time finding a child who doesn’t like the idea of Coca-Cola chicken! It’s certainly a winner in our house and I love that it’s a meal that can be cooked SO easily while travelling and camping. “]
by Loreena Walsh | Camping, Food
I must ashamedly admit that until our awesome weekend out to Copeton Dam I’d never cooked a camp oven roast before!
Seeing as we were heading out there for a couple of days with some wonderful friends we thought what better time to take along a leg of pork that we’d been saving in the freezer. (Living on a farm, this was our first and only pig we’d raised ourselves as food and oh boy is it tasty!)
We got the men to stoke up the main campfire before they headed fishing for the afternoon, ready for our attempt at a scrumptious campfire roast! (I’ll apologise now for the lack of photos!)
PREPARING THE MEAT:
Firstly, pork isn’t generally the kind of meat you’d cook in a camp oven, but we’re all for using what you’ve got and giving anything a go (almost!) while you’re camping so we thought we’d give it a try anyway.
For this roast, we used oil and salt rub to prepare the meat in an attempt to get some crackling. The chances of great crackling in a camp oven aren’t the best but we were keen to try!
For cuts such as beef and lamb, or even chicken, I’d suggest a light oiling, or just a quick spray with some spray oil if you have some.
PREPARING THE VEGETABLES:
We used carrot, pumpkin and washed potatoes with skin on and were feeding 4 adults and 5 children ranging in age from 1 – 8 yrs. The amount of veggies you cook and the type (what we used is recommended as well as things such as sweet potato etc – veggies that don’t go to soggy and roast well) will depend on the number of people you’re cooking for and the size of your camp oven.
Simply wash and/or peel as usual and cut the veggies into a medium size – too small and they may burn & dry out or go to mush, and too large and you might have troubles getting them to cook through.
PREPARING THE FIRE
You need to make sure that you don’t sit your camp oven right on top of a roaring fire. It needs to be close enough to the fire to keep the cooking momentum going, but not so close as to burn. We placed ours maybe about half a metre away and shovelled some coals and made a nice flat hot coal area for the camp oven to sit on. Once we placed our meat inside we shovelled hot coals on top and every once in a while when it looked as though the heat was disappearing, we’d scoop some fresh coals both under and on top of the camp oven.
HOW TO COOK YOUR ROAST:
Firstly we put on our roast by itself. The meat will take a while longer than the veggies depending on the size, but ours was quite large, so it was on for a good hour – hour and a half before we put our veggies in. It’s important not to keep opening the lid, this is especially note worthy if you’ve put coals on top as the last thing you want is to be eating ash and coals with your dinner! After about an hour and a half, we threw all our veggies in on top of the yummy looking roast, put fresh coals under and on top of the camp fire and left it cooking for another hour and a half or so. I don’t know the exact time because we were busy sitting by the fire drinking beer bathing the kids and all those important things.
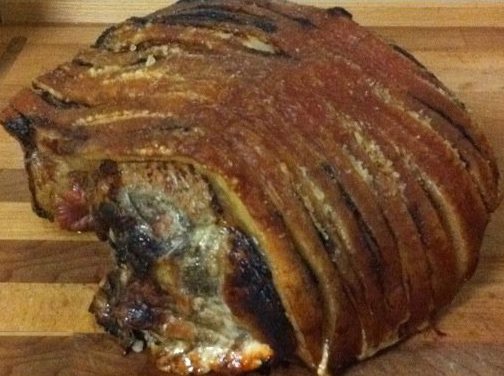
THE RESULTS:
Were super, dooper YUMMO! Between the 9 of us we polished off the entire roast and all the veggies! Super proud of my first ever camp oven roast. The only downside was that the wind was SO FREEZING that by the time we plated up everyone’s dinner and sat down to eat it, which didn’t really take us too long at all, everyone’s food was as cold as it would feel if you’d just pulled it out of the freezer! But cold or not it was yummy all the same. So if I can pull it off with no camp oven cooking experience, don’t be scared, just give it a go, it will be worth it!
I’ll be updating the site soon with an official guide to camp roast cooking which will have a little more specific instructions compared to my inexact advice – so stay tuned!